You are viewing the RapidMiner Scoring-agent documentation for version 9.5 - Check here for latest version
Using RapidMiner Real-Time Scoring Web UI
By default the RapidMiner Real-Time Scoring Web UI is accessible on the URL: http://public.ip/rts-admin/, where "public.ip" is the public IP address, or domain name of your Real-Time Scoring deployment.
Once you have started your Real-Time Scoring deployment, log in to the web interface. Open a web browser pointed at the http://<hostname>:<port>/rts-admin/ (for example, http://localhost/rts-admin/).
The login credentials for first time use are:
Deploying with docker-compose:
- User: admin
- Password: changeit
If you are using the cloud images, please check the Cloud deployment for the default credentials.
Important: Please be certain to change your password immediately.
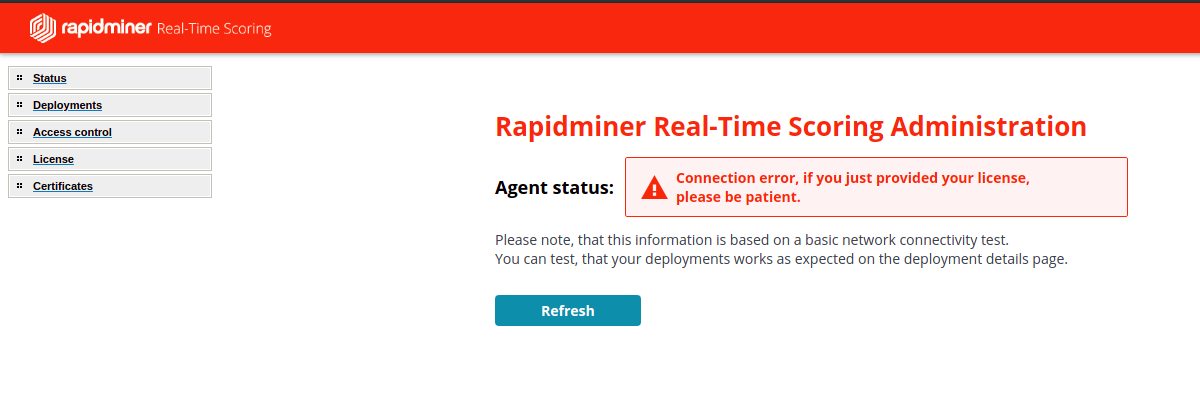
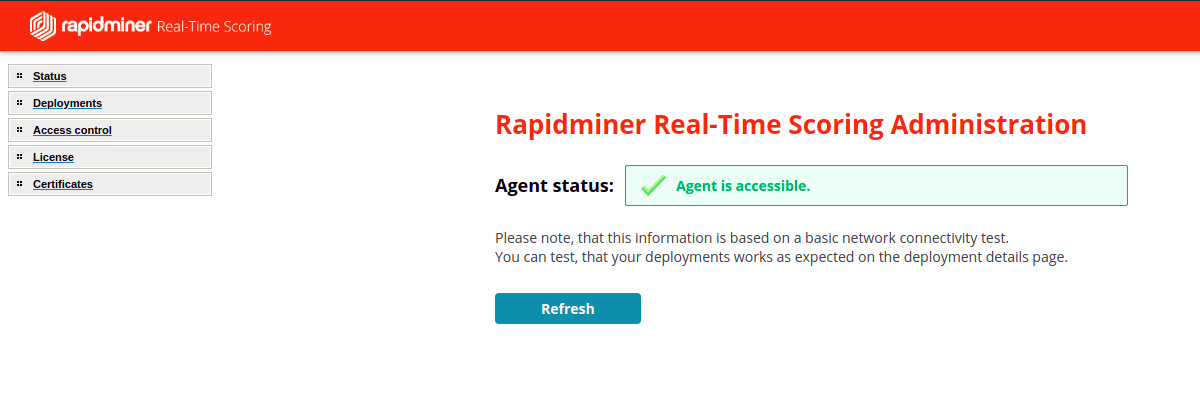
Agent status
This page displays the result of a basic connectivity test.
Please note, that license deployment is done by a background process, so there can be a one minute delay until the agent status became available.
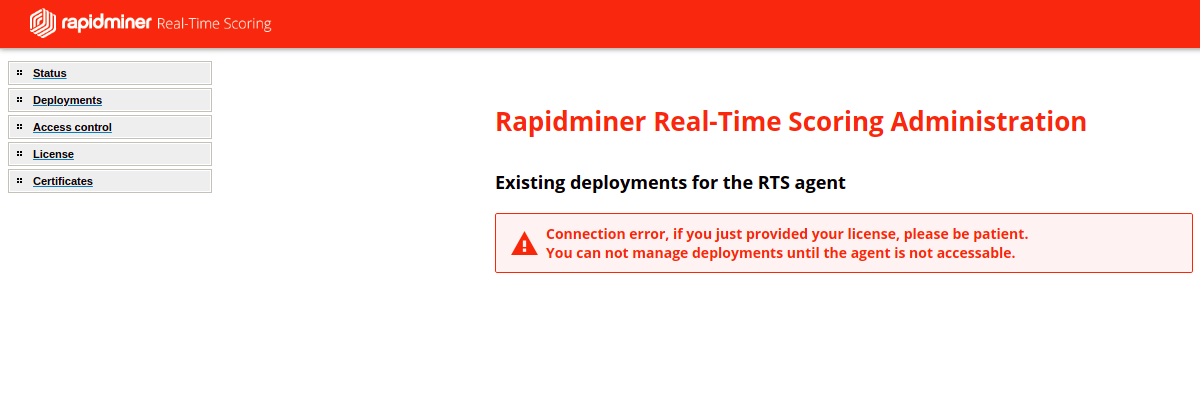
Deployments
Real-Time Scoring applies your model to a dataset containing one or more rows, and returns a prediction for each row.
You can upload multiple deployments, and each deployment may contain multiple scoring processes. Each scoring process in a deployment is represented as an endpoint, that are listed on the Deployments page.
Please note, that deployment list is available after the Real-Time scoring agent is accessible
To upload a new deployment file
Click Browse and select the deployment .zip file exported from Rapidminer Server and click open.
Click Submit, in case your deployment file was correct, the page reloads and you will see your deployment in the list.

In the deployment list the existing deployments can be reviewed.
Using a copy icon right after every scoring endpoint the URL of the particular endpoint can be copied to the clipboard.
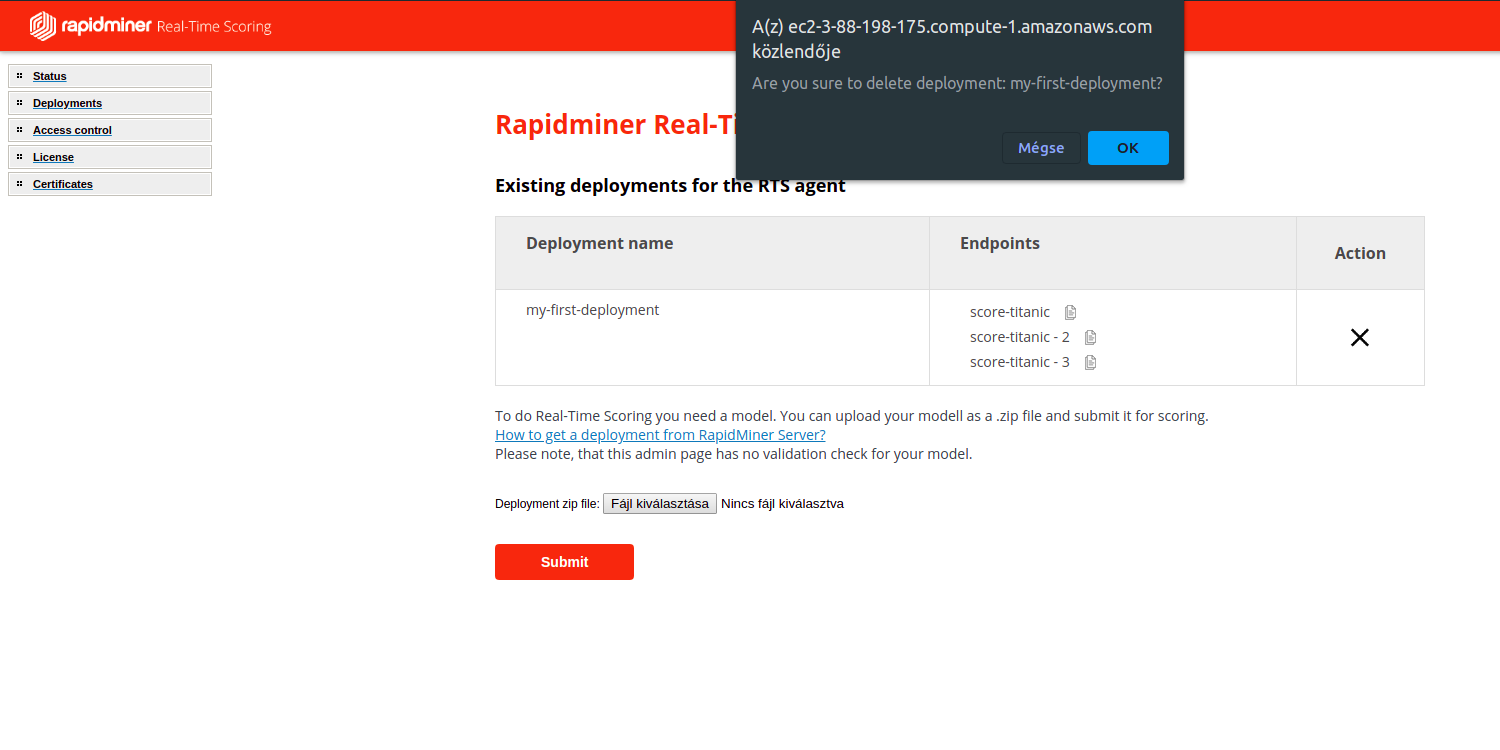
Remove a deployment
A deployment can be deleted by clicking a delete icon in the Action column, in the confirmation popup click OK, after the page reloads, your deployment is removed.
Modify an existing deployment
Remove the existing deployment
Upload the new version
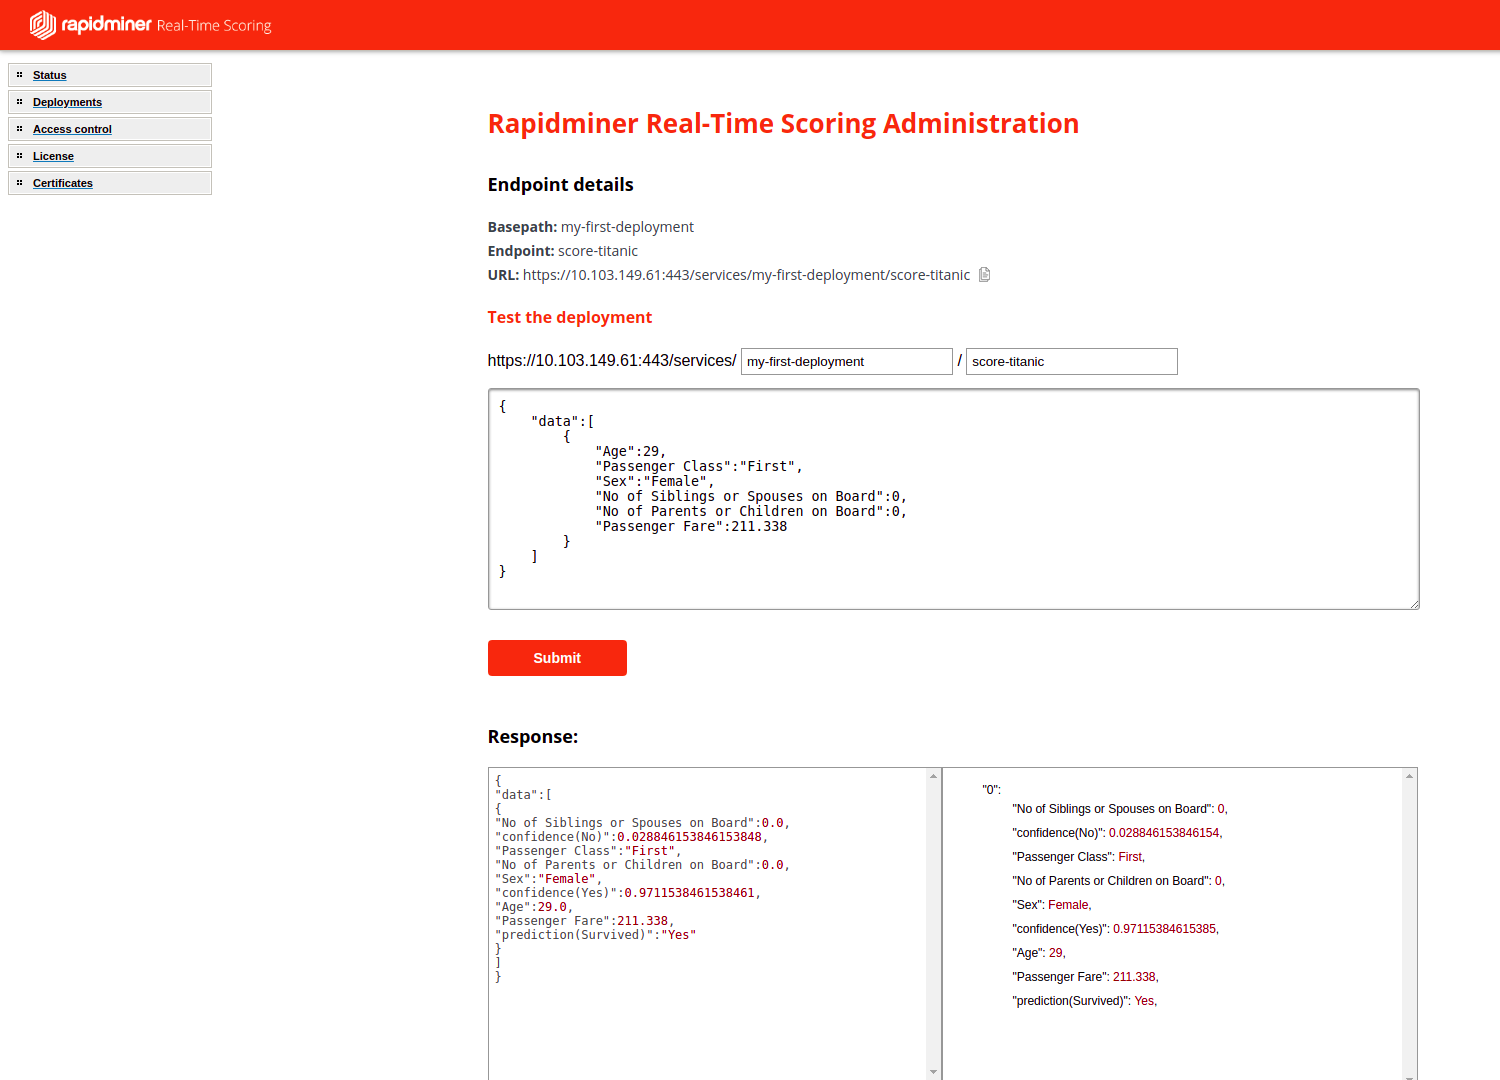
Deployment details page
Clicking on an endpoint name will navigate you to the details page of the particular endpoint.
On the endpoint-details page we provide the informations about the endpoint and a form, to test the endpoint.
Testing a scoring endpoint
To get the scoring results first you have to assamble the scoring input dataset in json format.
For example:
{
  'data': [
    {
      'FirstRowNumericSampleParam':1,
      'FirstRowTextSampleParam': 'Value'
    },
    {
      'SecondRowNumericSampleParam':1,
      'SecondRowTextSampleParam':'Value'
    }
  ]
}
Paste your dataset into the input field and click the submit button, the scoring results or the error message will be displayed below the form.
Tips:
- You can use a curl implementation to do scoring, for example:
curl -u "admin:changeit" -H "Content-Type: application/json" \ -X POST -d '{"data": [ {"NumericSampleParam": 1, "TextSampleParam": "Value"} ] }' \ "https://ip.address:443/services/my-first-deployment/score-titanic" - You can score multiple rows in a single request, for example:
curl -u "admin:changeit" -H "Content-Type: application/json" \ -X POST -d '{"data": [ {"FirstRowNumericSampleParam": 1, "FirstRowTextSampleParam": "Value"}, {"SecondRowNumericSampleParam": 1, "SecondRowTextSampleParam": "Value"} ] }' \ "https://ip.address:443/services/my-first-deployment/score-titanic" - URL Encoding: If you used whitespaces or some spacial characters when naming your deployments you have to encode them (eg. %20 instead of whitespace).
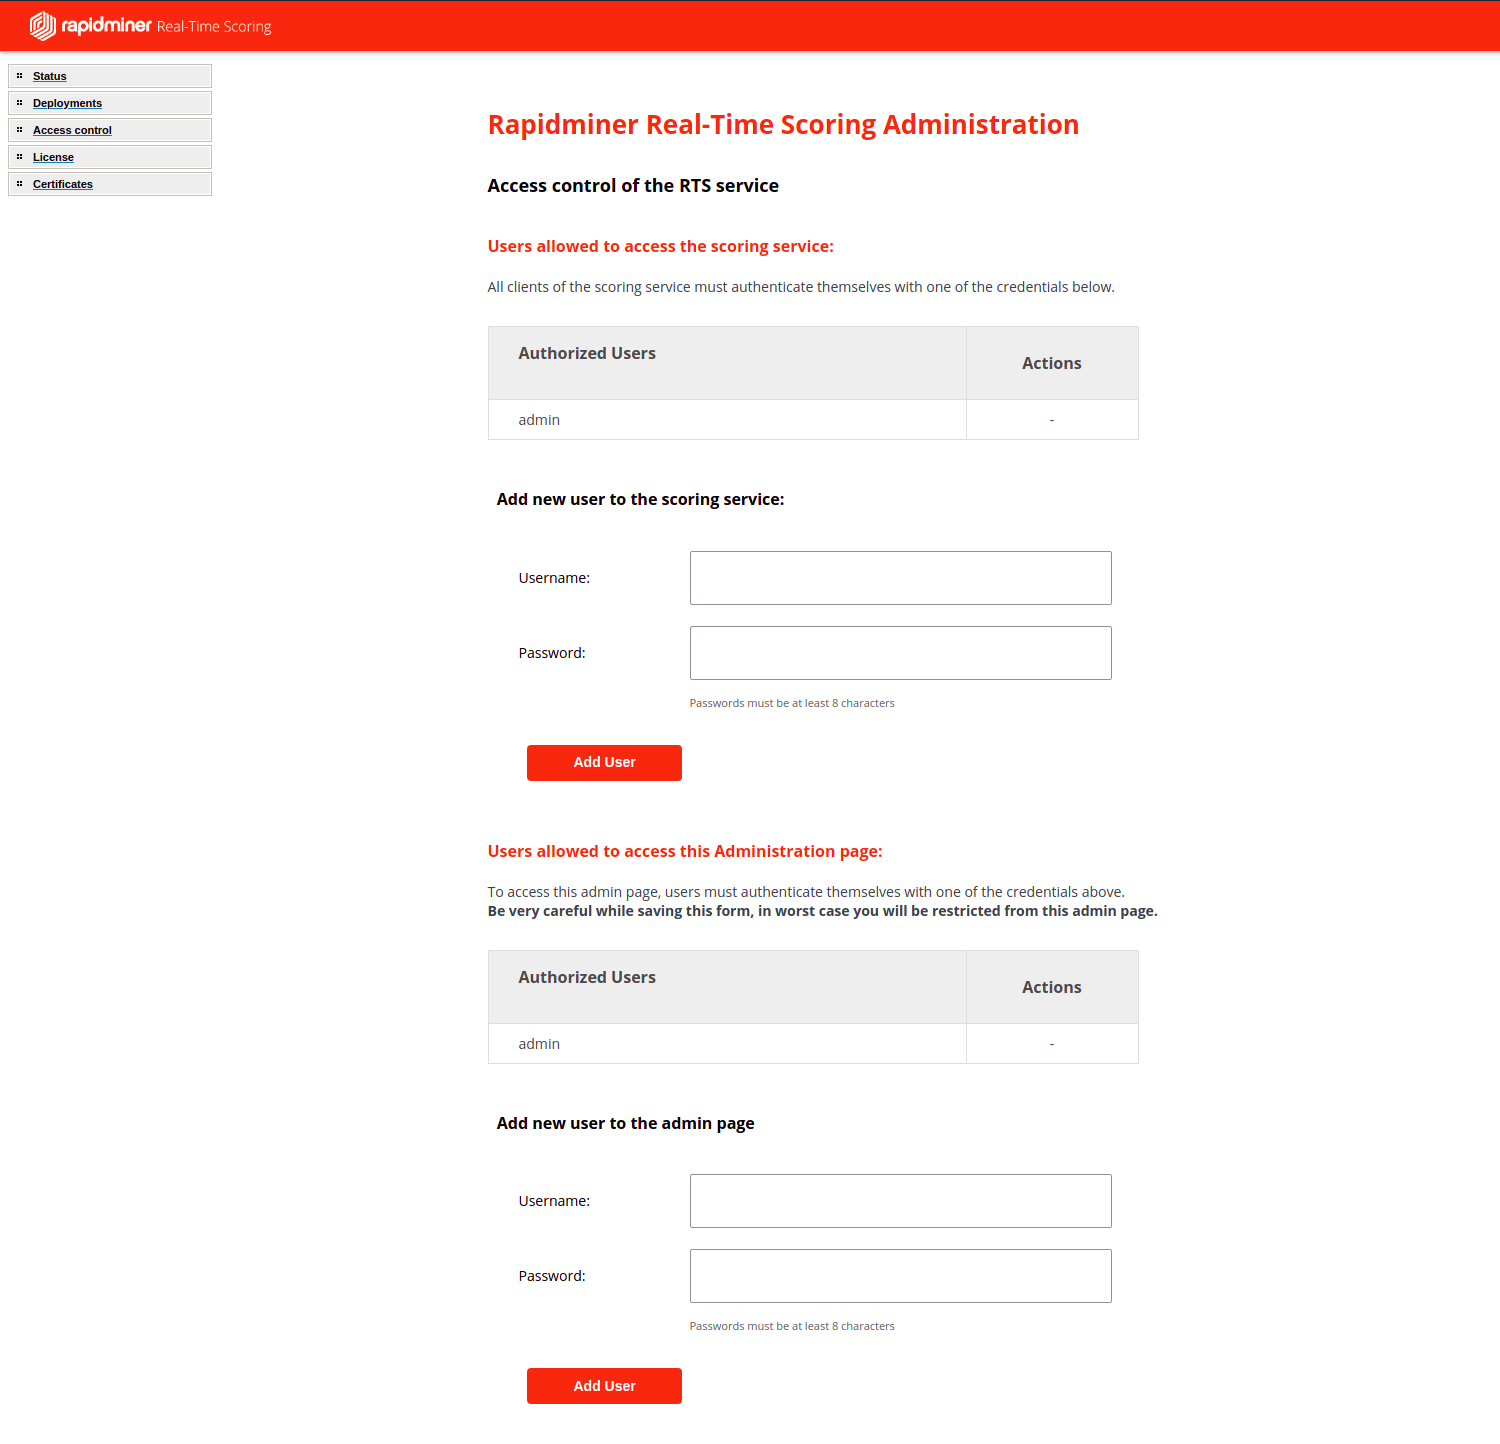
Access controll
By default we provide a HTTP basic user authentication. If you have further requirements, you have to fine tune the proxy containers configuration and set up an authentication backend connection based on your requirements, this topic is out of scope of this documentation.
For user management
- Click Access control in the left menu
To change the scoring service password
Scroll down to the "Users allowed to access the scoring service" block
Add a new user (keeping the default scoring user)
In a private browser window check the scoring access with the newly added user
Remove the default scoring user
To change the administrator password
Scroll down to the "Users allowed to access this Administration page" block
Add a new user (keeping the default admin user)
In a private browser window check the access with the newly added admin user
Remove the default user
Troubleshooting
In case you forgot the admin password, you can overwrite the contents of the authentication password file in the following way:
Generate a record with a htpasswd generator tool like this
Open a shell to your host (EC2 instance, or Docker, or Kubernetes host, depending on how you deployed the software)
Lauch a shell for the cron container:
- Cloud images / Docker-compose:
docker-compose exec cron bash
- Kubernetes:
$ kubectl get pods | grep cron
$ kubectl exec -it rapidminer-cron-xxxxxxxxxx-xxxxx bash
- Cloud images / Docker-compose:
Display the actual content of the file, you will see the username, maybe that helps to remember the password
cat /rapidminer/uploaded/htpasswd_admins/latest_htpasswd_admin
The sample below contains the admin/changeit credentials:admin:$apr1$AJLxIKlI$r9RpTgy0.O.h6fufUUl.9/
Overwrite the htpasswd file content with the following command (replace the <content> with the content generated by the htpasswd tool):
echo "<content>" > /rapidminer/uploaded/htpasswd_admins/latest_htpasswd_admin
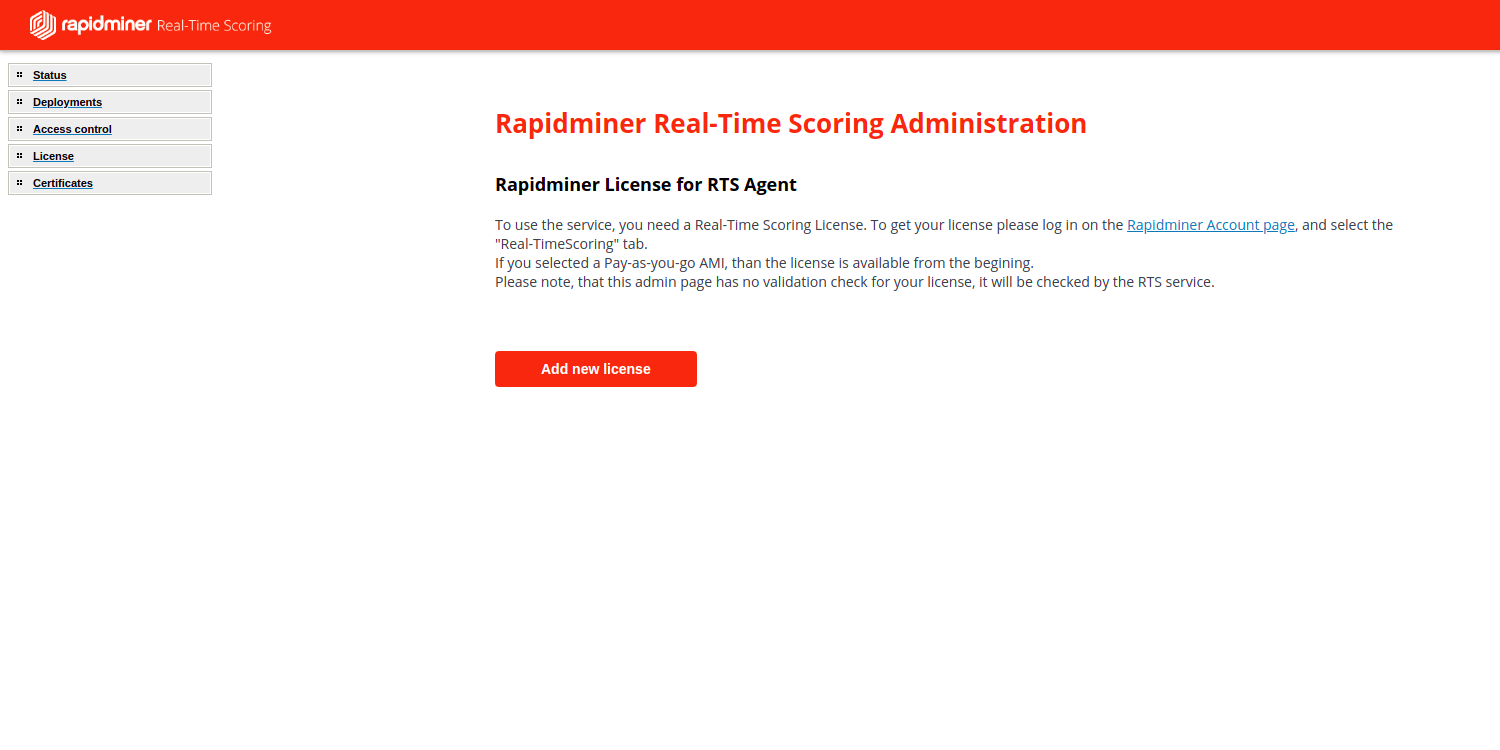
License
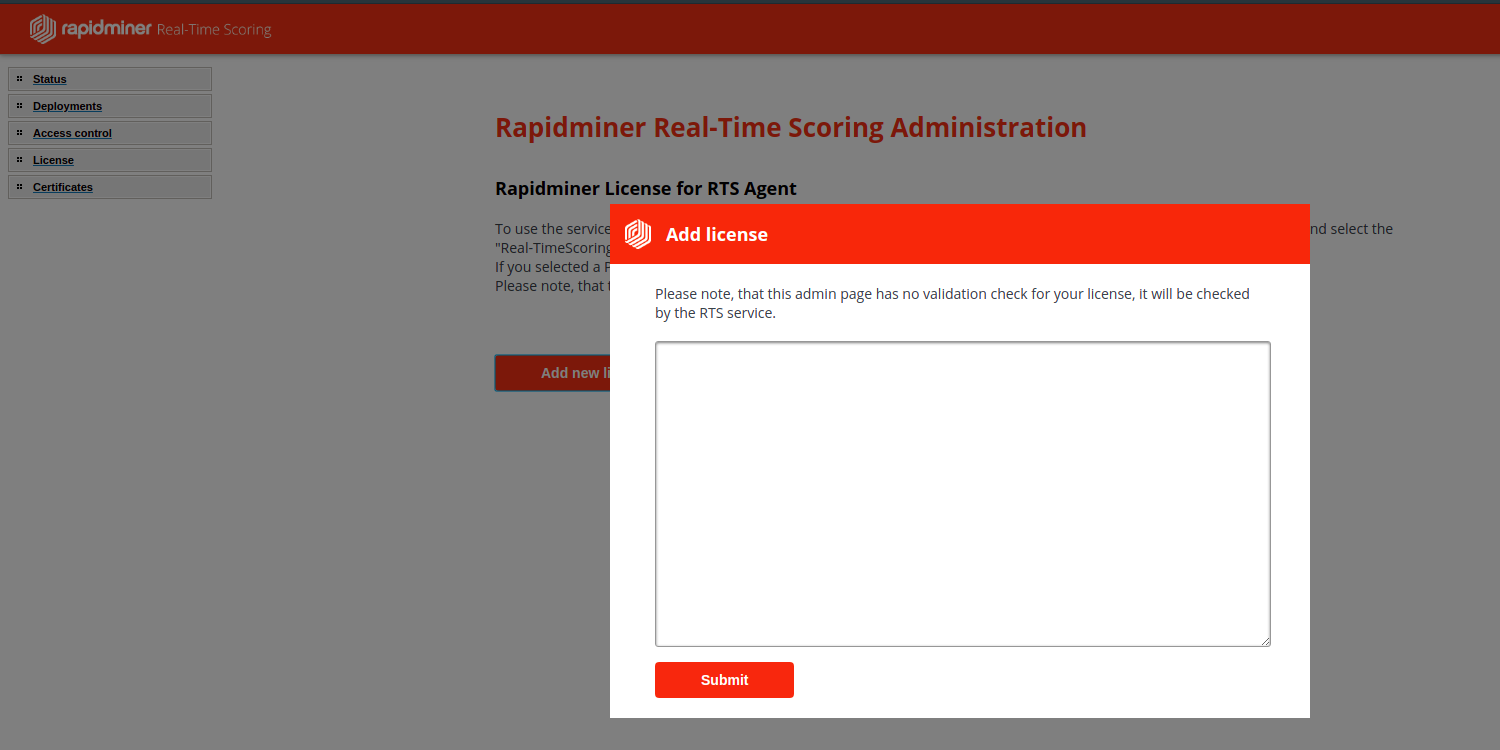
To add a new license:
Click License in the left menu
Click Add new license button
Paste your license into the infput field (to get your license please log in on the Rapidminer Account page, and select the "Real-Time Scoring" tab.)
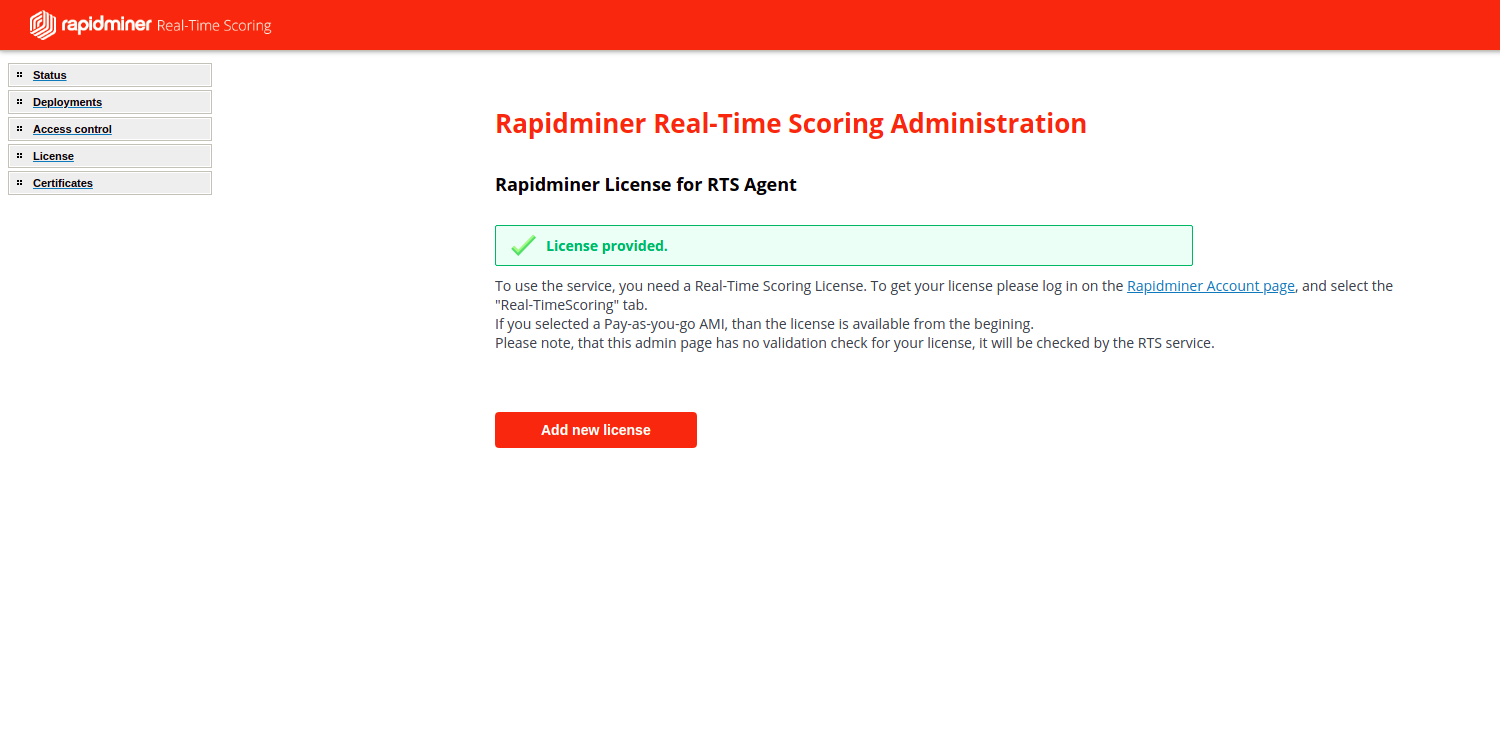
Click Submit
License deployment is done by a scheduled job, that runs once a minute, and the container startup needs some time too.
Click Status in the left menu, in case the Agent status is not Available, you can use the Refresh button to reload the page.
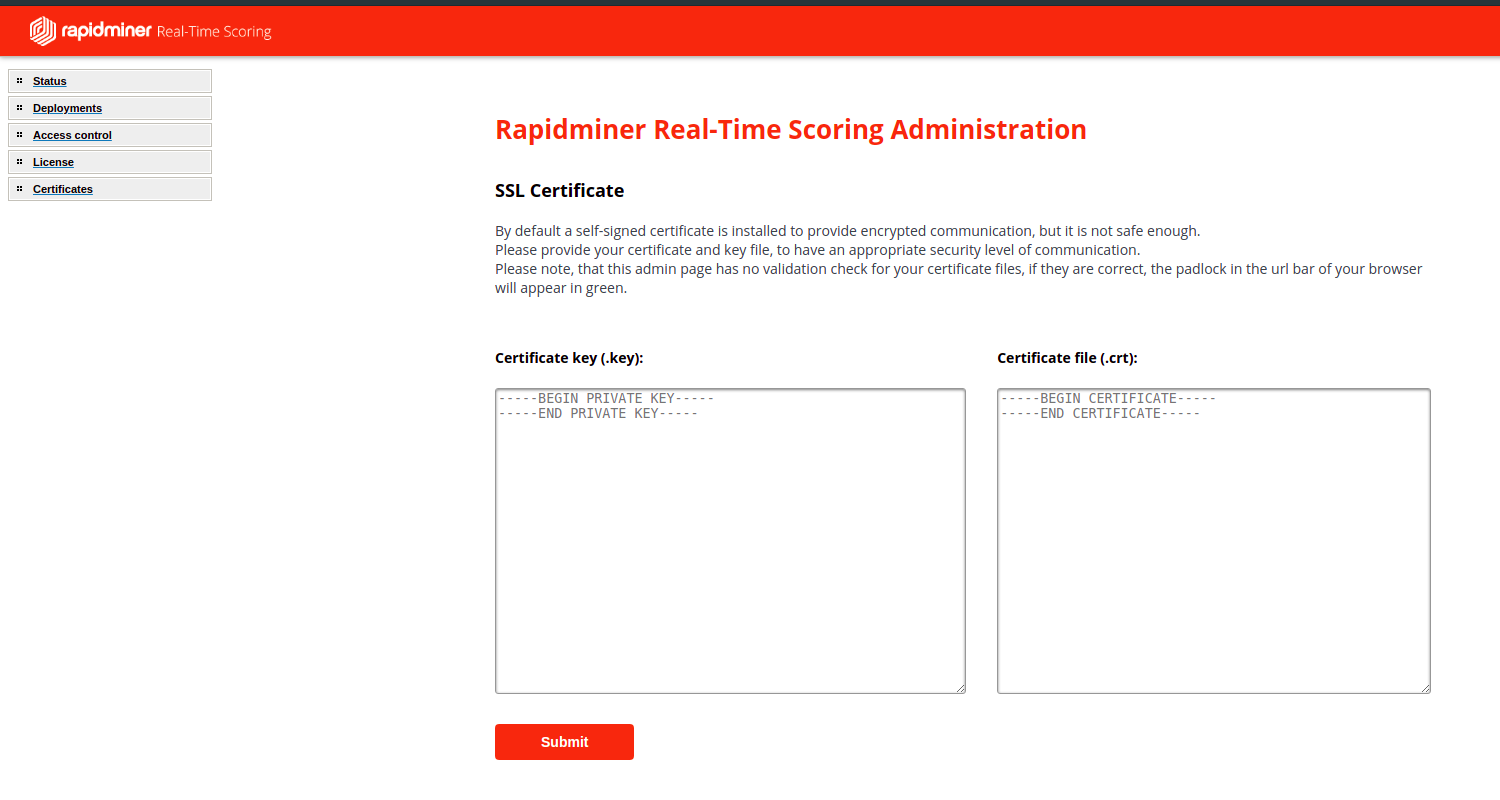
Certificates
To provide your own certificate key and crt file contents:
Click Certificates in the left menu
Paste the content from the .key and .crt files provided from your certificate issuer, or system administrator
Click submit
Certificate deployment is done by a scheduled job, that runs once a minute, and the container startup needs some time too.
Please note, that in case you are using Kubernetes, you have to reload the proxy service manually:
kubectl exec -it `kubectl get pods | grep proxy | awk '{print $1}'` -- /etc/init.d/nginx reload
You can further investigate your HTTPS connection by clicking on the padlock in the URL bar of your browser, if it is green, probably your connection is secure.
You can check your HTTPS certificate using a tool like SSLLabs.