You are viewing the RapidMiner Server documentation for version 9.7 - Check here for latest version
Changing Standard Branding
To customize display frames, logos, colors, and individual element styles, click the Edit branding icon or text:

The Edit Branding page opens. As you make customizations to the page, you can preview the changes by clicking the ![]() Install branding globally link.
Install branding globally link.

To remove the changes and restore the default, click Reset branding globally or set the Skin to RapidMiner.
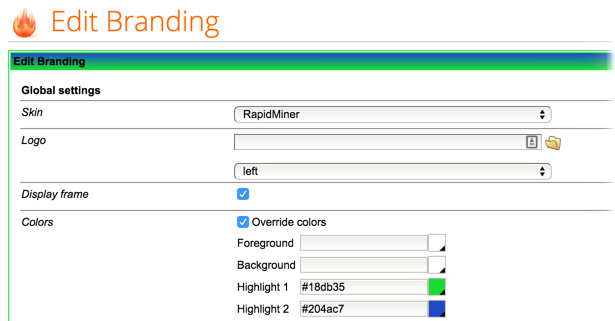
Changing global settings
You can change the global settings for page components.
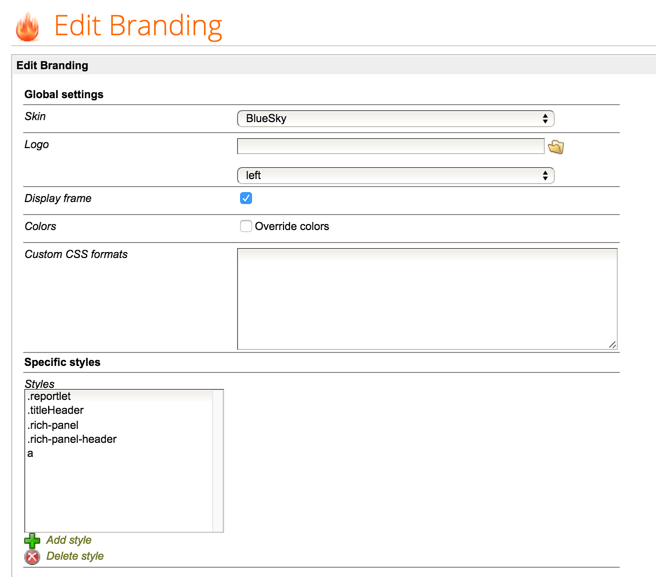
The following table describes each of the editable fields. Click ![]() Install branding globally to preview.
Install branding globally to preview.
| Field | Description |
|---|---|
| Skin | Sets the theme for the web app, including color application and frame shading. The RapidMiner skin is applied by default, but there are several predefined skins available through the pull-down. Use the Colors field to further modify the skins. |
| Logo | Specifies the logo file to apply to web app. Browse to the file location in the RapidMiner Server repository. Additionally, set the justification for the logo — left, right, or top. |
| Display frame | Specifies whether components are outlined by a frame. When checked, the display includes frames; frames are removed when unchecked. |
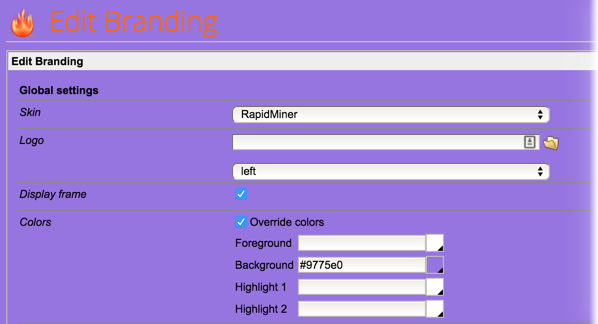
| Colors | Sets, individually, the foreground, background, and highlight 1 and 2 colors. Check Override colors to modify color selections. |
| Custom CSS formats | Adds or modifies CSS class descriptions defined by RapidMiner Server's default CSS. Use your browser's element inspection tools to find element class names or paste in existing CSS descriptions. Typically you use this method for changing general characteristics (for example, line widths and padding). To modify specific classes, use the Specific style section of the dialog. |
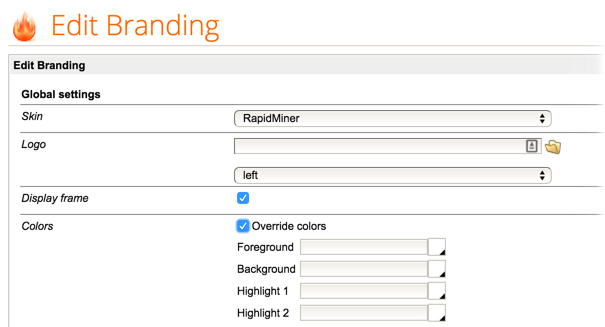
Changing the Foreground changes the color of the text (the font color).
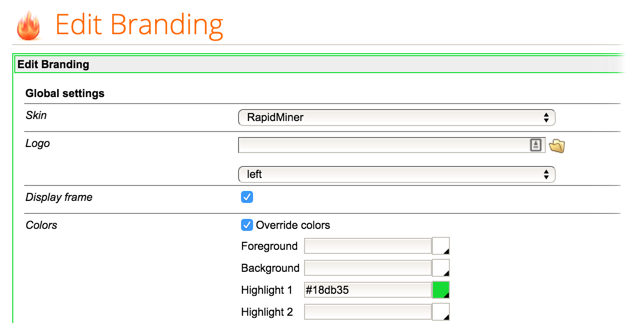
Changing Highlight 1 adds color to the title boxes:
Changing Highlight 2 adds more color to the title boxes (requires Highlight 1 to be set):
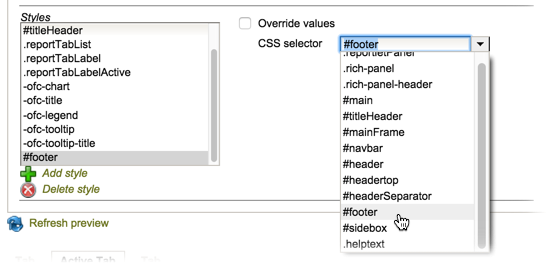
Changing specific styles
You can use the Custom CSS formats to customize the visualization. For specific, defined classes, this method can be more user friendly as it does not require CSS syntax knowledge. To change styles:
Select a style from the list on the left, or if the style is not listed on the left, select the style from the CSS selector pull-down. (You can also add new styles.) For example, to modify the footer:
Check the Override values box. A selection of elements appears.
Select the characteristics to change by checking the box to the left of the element. Then, modify the values as needed.
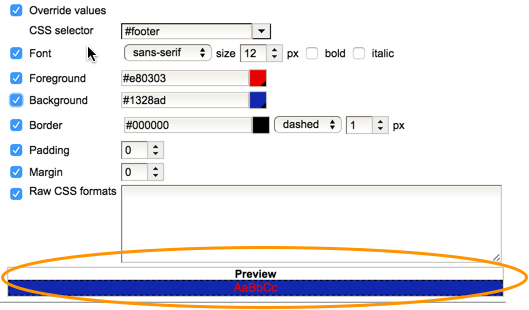
Review changes in the Preview section at the bottom of the section.
Click the
 Add style link below the list of predefined styles.
The styles editor creates a style named empty in the CSS selector pull-down. Highlight empty and type a new name.
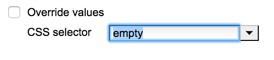
The style name is added to the list on the left when you click outside the name space. Check the Override values box and follow the instructions described for changing styles.