You are viewing the RapidMiner Developers documentation for version 9.8 - Check here for latest version
RapidMiner Notebooks
Starting from version 9.6, we provide a JupyterHub instance as part of the RapidMiner AI Hub. We built this integration with collaboration in mind between coders and non-coders across the enterprise.
On this page, you will learn about the features of this environment, how to deploy it, and how to interact with data and processes stored in the RapidMiner AI Hub.
RapidMiner Notebooks is only available as part of RapidMiner AI Hub deployment. If you haven’t adopted this deployment method yet, contact our support team if you need help getting started.
Deploy RapidMiner Notebooks
RapidMiner Notebooks ships as part of the RapidMiner AI Hub. This ensures a tight integration with RapidMiner repositories and projects, as well as a single sign-on experience across the platform.
Visit our deployment templates to quickly get started with deployment.
You can find a detailed list of configuration possibilities on the related Docker image reference page.
Log in to RapidMiner Notebooks
You can access RapidMiner Notebooks by logging in to your RapidMiner AI Hub and clicking the JupyterHub link on the landing page.
Alternatively, you can find your RapidMiner Notebooks environment by pointing your browser to http(s)://your.deployment.address/jupyter (this URL is configurable, see the image reference for more details). If not logged in yet, you will be prompted to log in.
We only support interactive usage of the RapidMiner Notebooks environment. Don’t expect your notebook code to continue running after you have logged out.
Use RapidMiner Notebooks
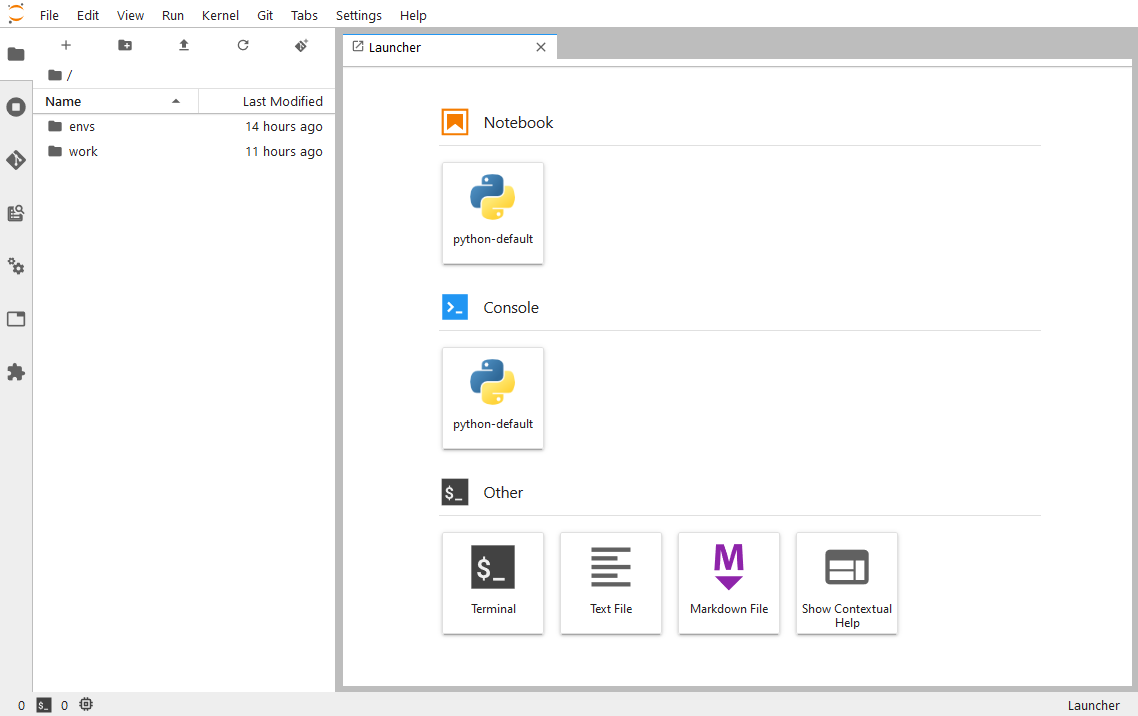
By default, we have enabled JupyterLab as a user interface. If you prefer the classic Jupyter Notebook environment, click Help -> Launch Classic Notebook.
Each user's JupyterLab instance inside RapidMiner Notebooks is running in a separate Docker container. Python environments are provisioned and managed by the RapidMiner Platform Admin tool, and we ship a default environment ready for use containing popular Python libraries used in data science projects. Users can also define custom environments as Jupyter kernels that will only be available to them. The working directory for each user's instance is separated, and currently there's no filesystem level access to the contents of the RapidMiner Server repository.
Tutorial process
There is a tutorial notebook in the work folder of your home. This demonstrates how you can read and write data in the RapidMiner Server repository and how to run processes and get their results by using the pre-installed python-rapidminer library.
We have also included examples on how to work with RapidMiner projects using the integrated Git extension. When cloning a new project, the list of available RapidMiner projects will be automatically displayed for convenience. You can, of course, also clone any standard Git repository that you have access to.
You can also access the tutorial by launching a new notebook from the launcher and opening the link in the notebook.
Custom environments, kernels
A default Python environment is provisioned, including the most popular Python packages used for data science. You can also install your custom environment using any of the languages available in Anaconda environments. To do so, open a new terminal view from the Launcher.
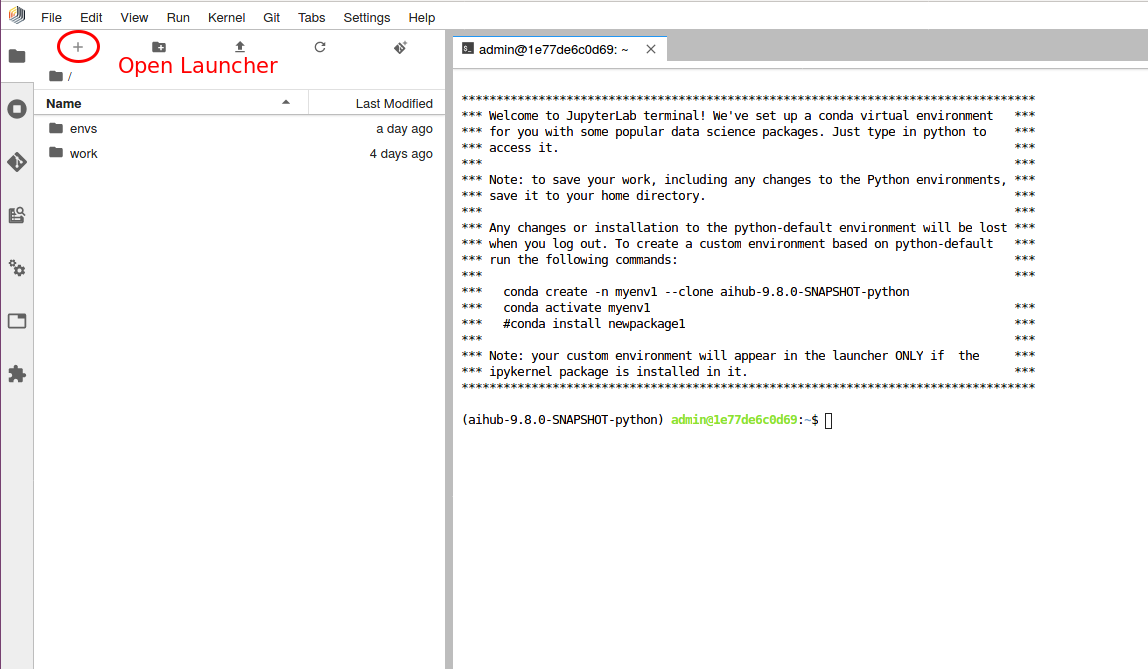
Type one of the followings in the terminal:
conda create -n myenv or conda create -n myenv --clone existing-env
where myenv is the name of your choice. You can install any packages in the new environment. If you want to see it in the Launcher list and select it in notebooks, make sure that you also installed the ipykernel package (or the corresponding kernel package for the language of your choice). All environments with kernel installed will be shown automatically in the Launcher. The newly created environment will only be accessible to you.
Creating shared environments is also possible using the Platform Administration tool included in AI Hub. If you don't have privileges to access the tool, ask your administrator to create the shared environment.