You are viewing the RapidMiner Radoop documentation for version 8.1 - Check here for latest version
Radoop Proxy
Radoop Proxy lets you tunnel all Radoop connections through a single machine residing on the edge of your secure Hadoop cluster and so it makes the networking configuration easier.
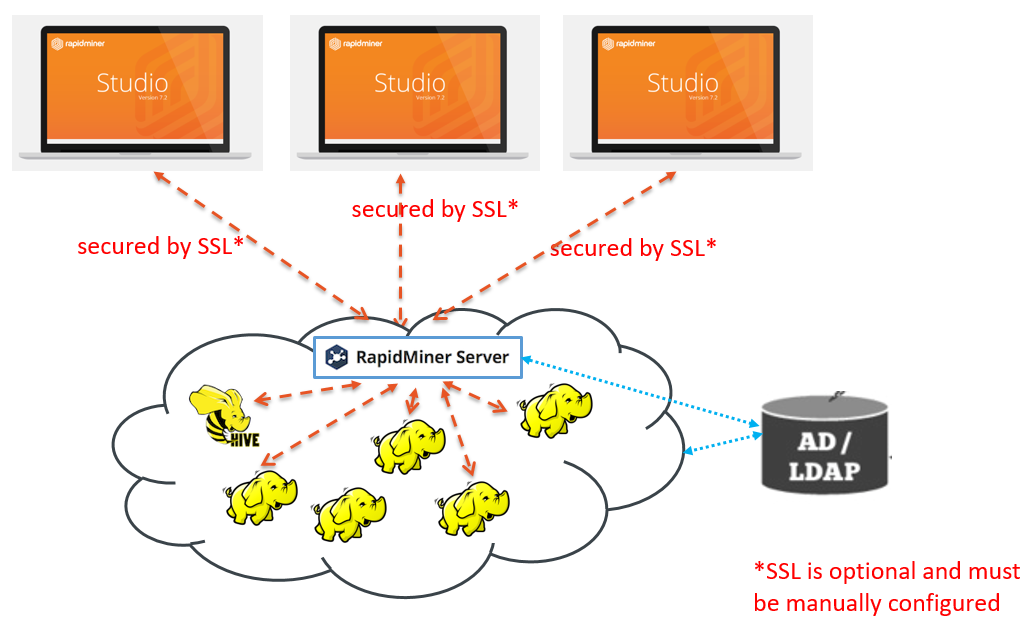
Radoop Proxy architecture
The Radoop Proxy is a server component that comes bundled with RapidMiner Server. It can accept connections from RapidMiner Studio and forwards these connections towards Hadoop forming a single access point of the cluster. It is typically installed on one of the secured cluster machines (can be an existing Hadoop node or a dedicated machine / edge node), so it resides on the same local network as the cluster nodes. Outside of the secured cluster only a dedicated port of the Radoop Proxy is available so making the default networking setup obsolete.
In order to use a Radoop Proxy, RapidMiner Studio users must be authenticated. Authentication is done by a RapidMiner Server that is connected to the Radoop Proxy.
The connection between RapidMiner Studio users and Radoop Proxy can be easily secured with SSL if the certificates for the machine hosting the proxy is available. Since both RapidMiner Server users and Hadoop users can be managed in an LDAP server, this enables a centralized and convenient user management as well.
Setting up a Radoop Proxy Connection
Create a new Radoop Proxy Connection from RapidMiner Studio or from RapidMiner Server:

Provide the location of Radoop Proxy server, the port it listens on and RapidMiner Server credentials. The port of proxy server has a default value of
1081. If your Radoop Proxy is secured with SSL then check Use SSL. If your certificate is not well-known then you need to fill Keystore file and Keystore password fields too.Open
 Manage Radoop Connections option in the Connections menu, edit your connection and check Use Radoop Proxy:
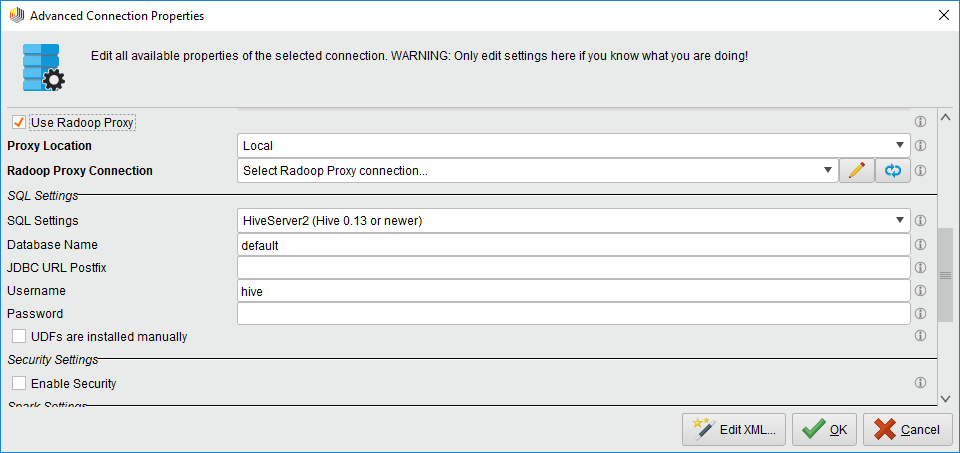
Select the appropriate Proxy Location depending where your Radoop Proxy Connection is defined. Choose
Localfor connection set up in Studio or the name of the Server repository in case of remote connections: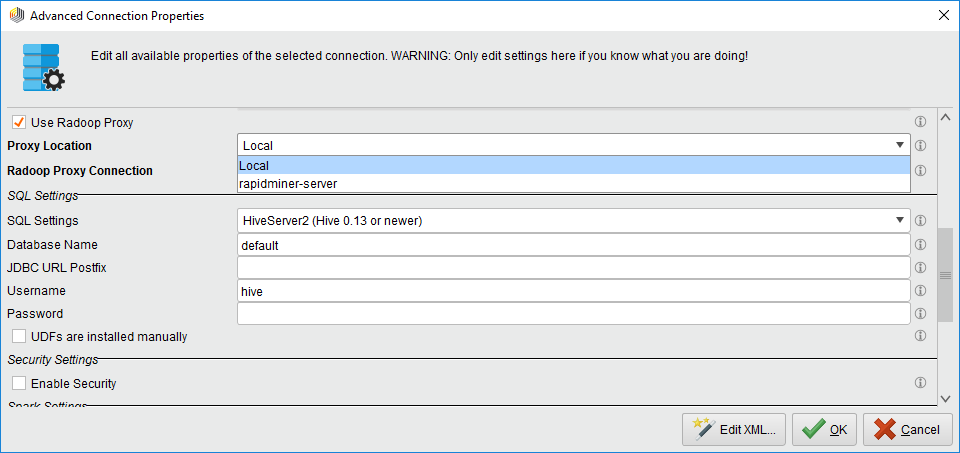
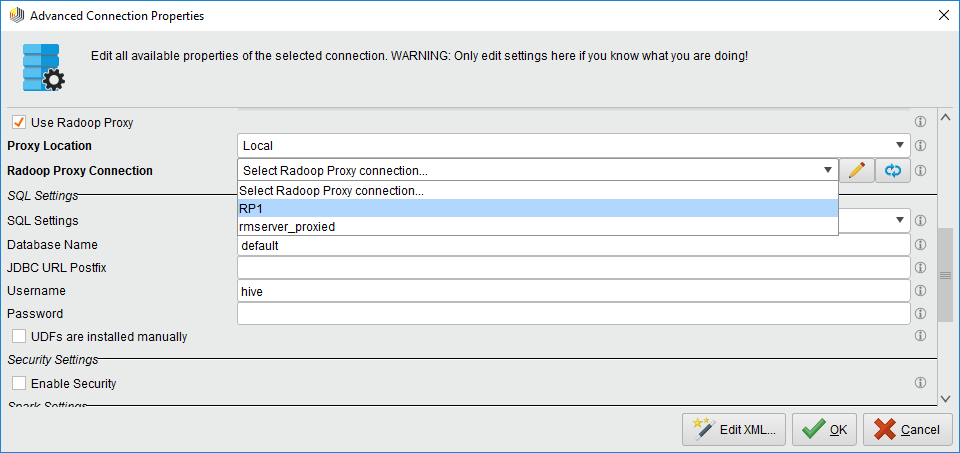
Select the Radoop Proxy Connection you want to use. In case of server locations you may need to click on the
 Refresh button to sync the connections from the Server to Studio. You also have the option to click on
  Edit button to edit an existing or to create a new Radoop Proxy connection right from this screen: