You are viewing the RapidMiner Studio documentation for version 9.3 - Check here for latest version
Using the Dropbox Connector
This guide targets the new Connection Management introduced with RapidMiner Studio 9.3.
For the old Legacy Dropbox Connections see the 9.2 documentation
The Dropbox Connector allows you to read and write to files in your Dropbox account directly from RapidMiner Studio. There is no need for the Dropbox desktop client to be installed on your machine. This document will walk you through how to:
The Dropbox Connector uses an authentication mechanism called OAuth 2.0. Instead of giving RapidMiner your username and password, you generate an access token that can be used by RapidMiner Studio to connect to your Dropbox account. This token cannot be used by any other applications and helps keep your Dropbox credentials secure.
Follow these steps to connect RapidMiner Studio to Dropbox:
Connect to your Dropbox account
In RapidMiner Studio, right-click on the repository you want to store your Dropbox Connection in and choose
 Create Connection.
You can also click on Connections > Create Connection
and select the Repository from the dropdown of the following dialog.Give a name to the new connection, and set Connection Type to
 Dropbox:
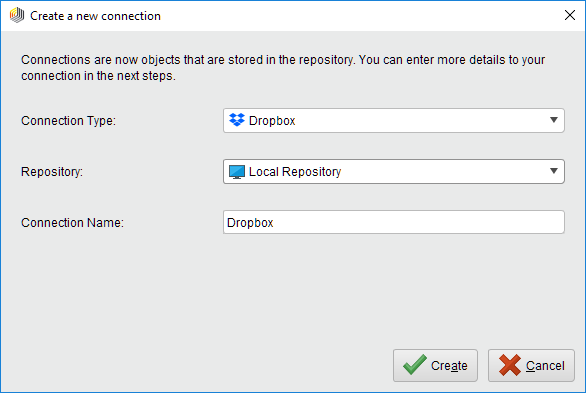
Click on
 Create and switch to the Setup tab in the Edit connection dialog.
To the right of the Access Token field, click the
 button to request an access token.
Click on Request access token
 to open the Dropbox website in your browser. If you are not already logged into your Dropbox account, you will have to do so now. You can manually copy the URL by clicking on Show URL instead.
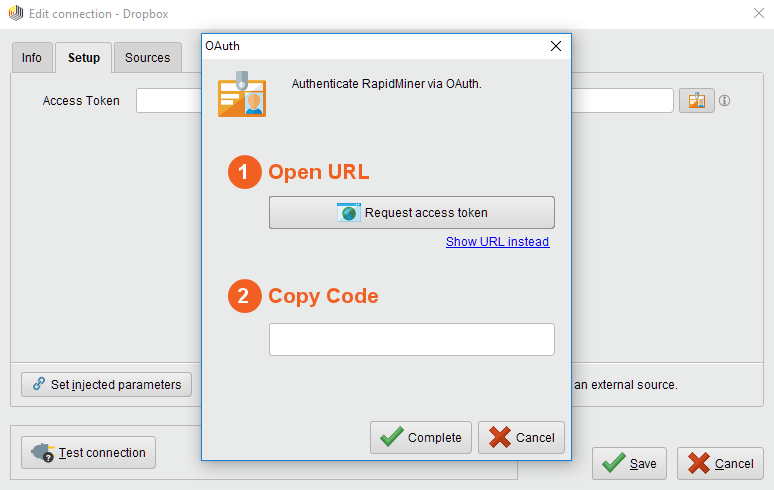
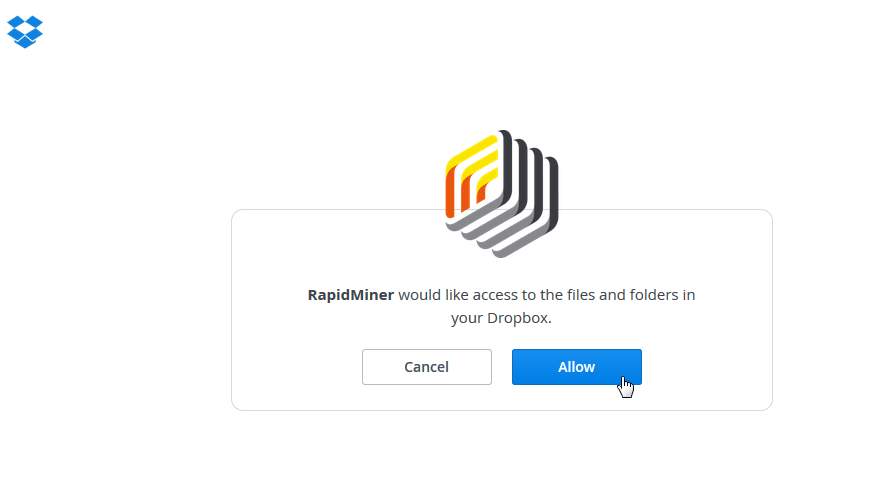
Click Allow to give RapidMiner access to your Dropbox account and to generate a token:
Copy the access token:
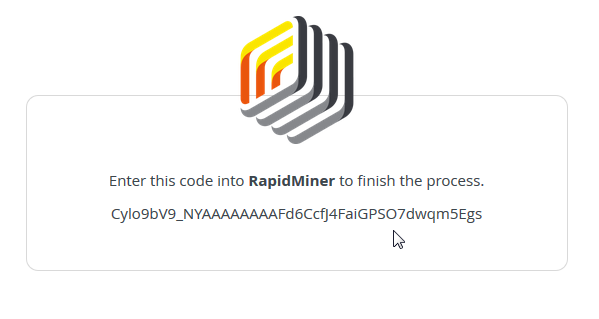
Return to RapidMiner Studio, enter the access token, and click
Complete: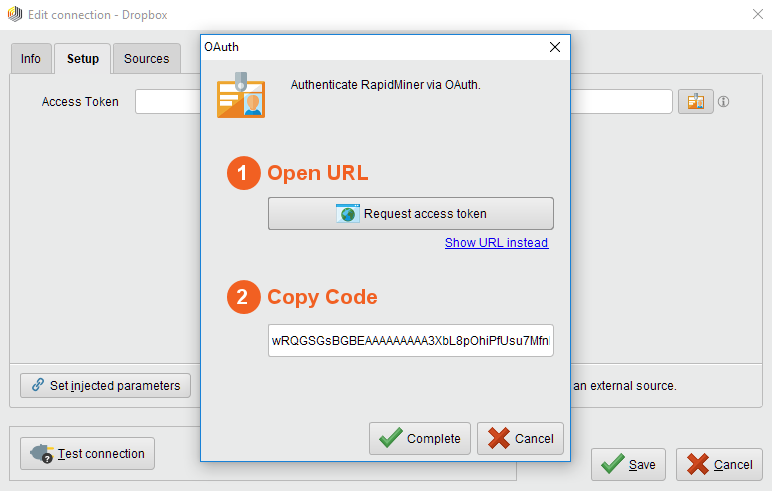
While not required, we recommend testing your new Dropbox Connection by clicking the
 Test connection button at the bottom of the Edit connection window:
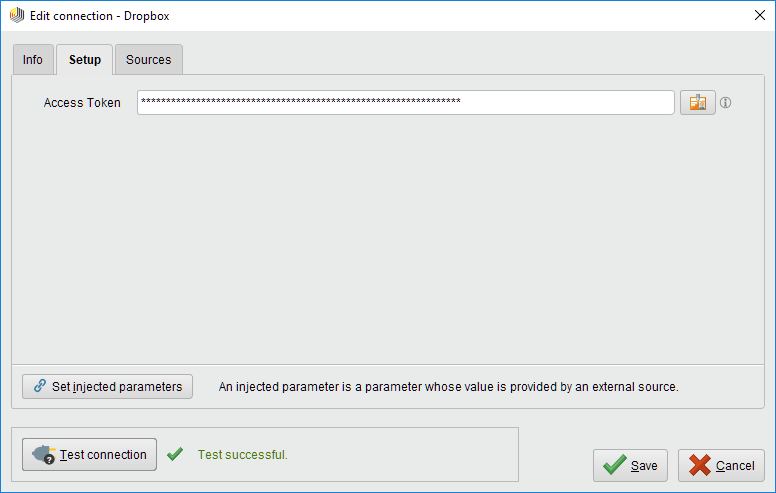
If the test fails, check whether you copied the complete access token.
Close the Edit connection dialog by clicking on
Save.
You have successfully connected RapidMiner Studio to your Dropbox account. The next sections will show you how to use this connector to read and write files.
Browse and read files
Reading files from Dropbox is incredibly simple using the Dropbox Connector:
Drag a Read Dropbox operator into the Process Panel. Select your Dropbox Connection for the connection entry parameter from the Connections folder of the repository you stored it in by clicking on the
 button next to it:
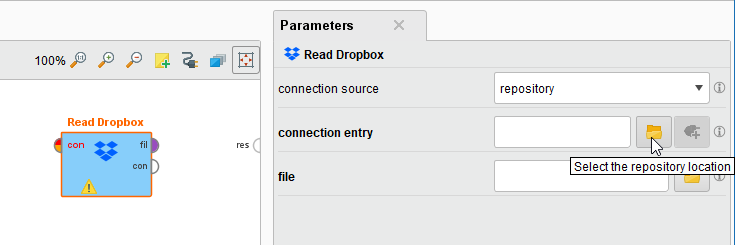
Alternatively, you can drag the Dropbox Connection from the repository into the Process Panel and connect the resulting operator with the Read Dropbox operator.
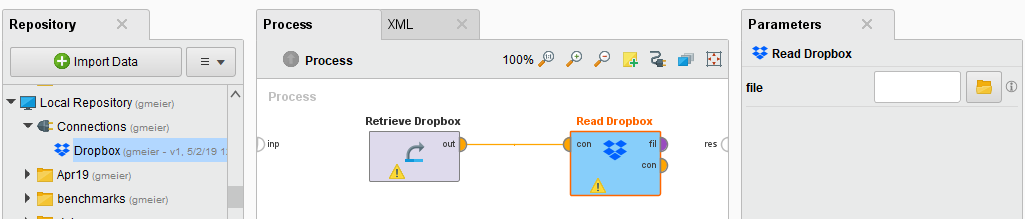
Click on the file chooser button
to view the files in your Dropbox account.
Select the file that you want to load and click Open.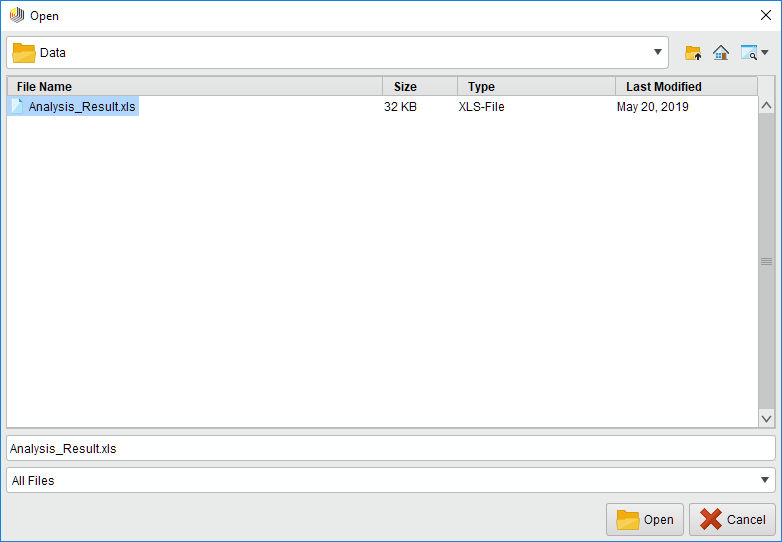
Connect the output of Read Dropbox to a suitable operator. In this case, we selected a .XLS file, so we will connect the output to a Read Excel operator:

As you can see in this example, the Read Dropbox operator works similarly to the Read File operator. It only loads the selected file but does not process it. The actual processing of the data takes place in additional operators such as Read Excel, Read CSV, or Read XML.
Write files to your Dropbox account
The Write Dropbox operator works similarly to the Write File operator: it expects a file as input (provided by another operator) and stores it at the specified location in your Dropbox account. As for the Read Dropbox operator, you can optionally provide the Dropbox Connection at the second port.
The simplest example using the Write Dropbox operator would be to connect it to the output of Read Dropbox. This setup would simply copy a file from one location in your Dropbox account to another without changing the file itself.
We will configure the Write Dropbox operator from the end of the previous section.
Click on the Write Dropbox operator, select your Dropbox Connection in the Parameters view, and select a location for the new file via the file chooser
.
Note that by default the Write Dropbox operator does not overwrite existing files.
Instead, a number is appended to the file name.
For example, if Analysis_Results.xls already exists, the new file would be stored as Analysis_Results (1).xls.
You can disable this feature by checking the overwrite parameter (visible in Expert Mode).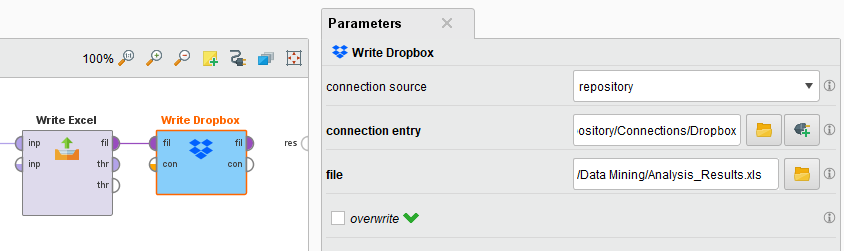
Run
 the process and navigate to the location you specified.
In the Dropbox online view, you can see that Analysis_Results.xls was successfully updated just a few seconds ago!
the process and navigate to the location you specified.
In the Dropbox online view, you can see that Analysis_Results.xls was successfully updated just a few seconds ago!