You are viewing the RapidMiner Deployment documentation for version 9.6 - Check here for latest version
Install Docker on Windows
Before you begin
If you are unfamiliar with Docker, you may believe that Docker will make your life more complicated, not only do you have to install a server; now you also have to learn how to use Docker! The object of this deployment documentation is to convince you that it's worth the small initial effort, because Docker can make it that much easier to deploy the RapidMiner platform.
The emphasis here is on installing Docker and deploying RapidMiner as quickly as possible. Note the following points:
You need administrator permissions to install Docker.
Make sure your version of Windows is supported by Docker. Check the compatibility matrix.
Make sure your BIOS setup allows virtualization.
Windows Hyper-V needs to be enabled. Depending on your software, choose one of the following links:
Download and install Docker for Windows
Go to Docker Hub and click on Get Docker.

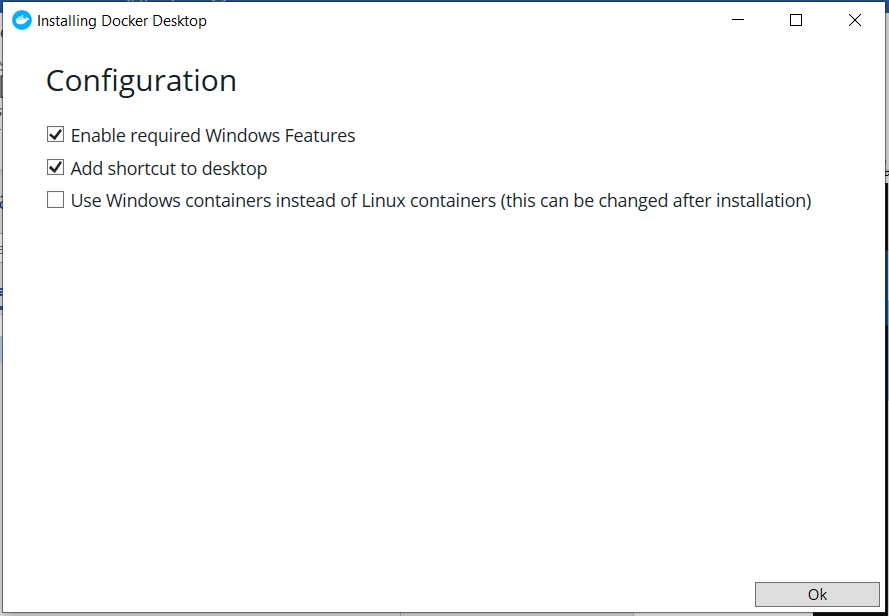
Save the file anywhere on your file system and run the installer. The default settings are good.

A restart of the machine is recommended.
Once Docker is installed, go to the Start menu and look for the Docker Desktop app.

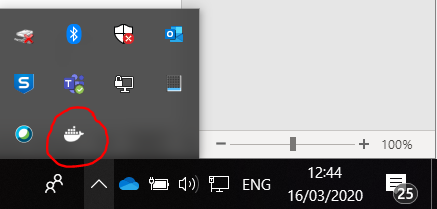
A whale icon will appear on your task bar, meaning Docker is up and running.

Configure Docker
To meet the requirements of RapidMiner Server, you need to increase the amount of memory allocated to Docker. Right click the Docker whale icon on the task bar and select Settings from the context menu.

Inside Settings:
- Go to Resources/Advanced and make sure you have at least 16Gb of RAM and 2 cores.
- In Resources/File Sharing, select the local drives you want to be available to your containers. You'll need at least one.
- Click on Apply and Restart.
Docker is now installed and ready for use!
Read more: Deploy RapidMiner