You are viewing the RapidMiner Server documentation for version 9.6 - Check here for latest version
Assigning access rights
Access rights can be granted — to individual users or to user groups — from both:
- the RapidMiner Studio Repository View and Manage Connections dialog
- the RapidMiner Server administration interface
Assigning access from RapidMiner Studio
To assign user access from RapidMiner Studio, you must first configure a RapidMiner Server repository within RapidMiner Studio. Then either create project folders or save processes and data to that repository.
Create the repository in RapidMiner Studio according to the instructions in the RapidMiner Server installation guide.
Assigning rights to a database connection
Database connection access rights can only be assigned from RapidMiner Server. (You must create the database connection before assigning rights.)
Before a user can run use any operators and/or processes that reference the connection, you must first grant the user access rights on RapidMiner Server. From the Connections > Manage Database Connections dialog in RapidMiner Studio a user can read any server database connections they have access to. The user cannot, however, change the connection properties or access rights there.
Assigning rights to other connections
You can create and configure other connections (such as Twitter, Solr, Salesforce, etc.) from within RapidMiner Studio.
Note: If you are not logged in as admin, you see a shield icon that enables you to run as admin for the duration of this dialog. Click and login as admin.
If you haven't already done so, connect to RapidMiner Server by adding a RapidMiner Server repository in RapidMiner Studio. Also, make sure that you have any required extensions downloaded from the
 RapidMiner Marketplace and installed.
From the Connections menu of RapidMiner Studio, select
 Manage Connections. The Manage Connections dialog opens and displays any local configured connections and any configured connections on connected RapidMiner Server instances.
To access the
 Edit access rights button:
- For a new connection, follow these instructions to create the connection. The button is available in the Manage Connections window.
For an existing connection, expand the RapidMiner Server repository list on the left side of the Manage Connections window and highlight the desired connection.
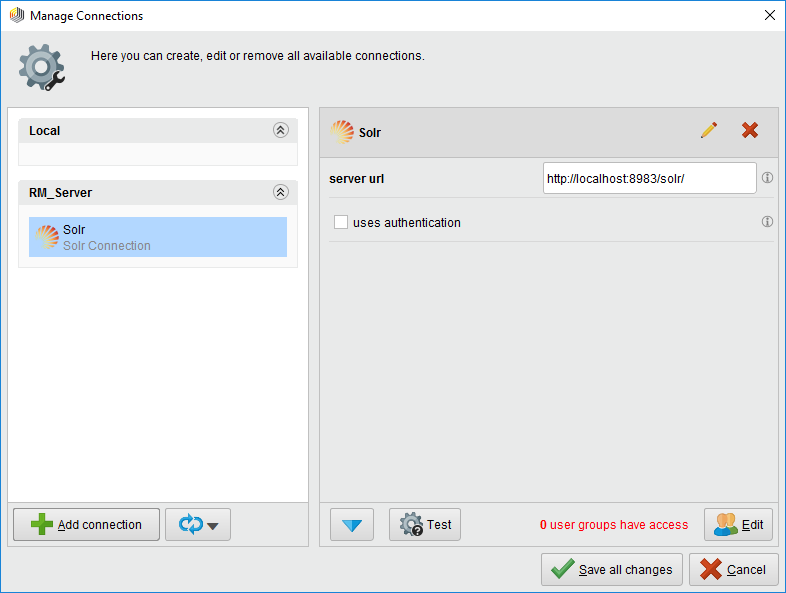
Click the
Edit access rights button to open the Edit user access dialog: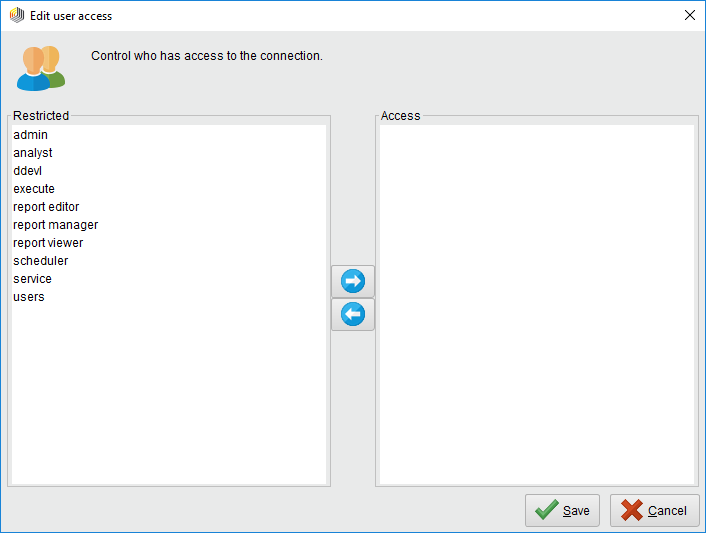
Highlight a user or group name and use the arrow buttons to move between the allowed and restricted options.
Assigning rights to other resources
To assign rights to data sets, processes, folders, or web apps (stored as a file in the repository) from RapidMiner Studio:
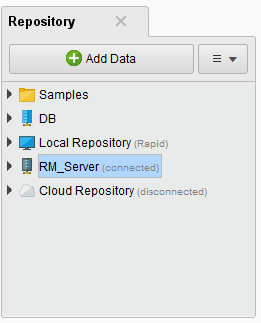
In the Repository view, double-click the repository name to connect to RapidMiner Server:
Create or save resources to the repository.
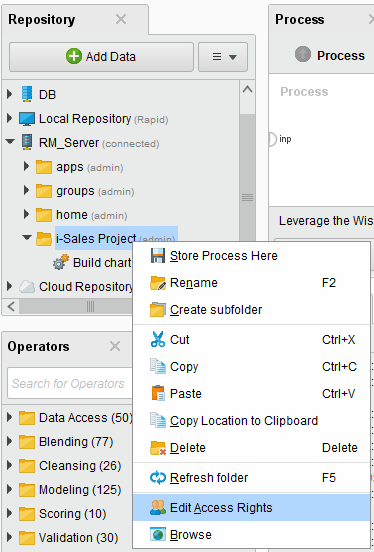
Assign access rights by right-clicking on the resource (folder, file, process, etc.) and selecting Edit Access Rights. The Edit Access Rights dialog opens.
Click Add Row. Click on the Group name and the resulting pull-down arrow to display all groups (which includes the single-entry <username> group) and select the desired group.
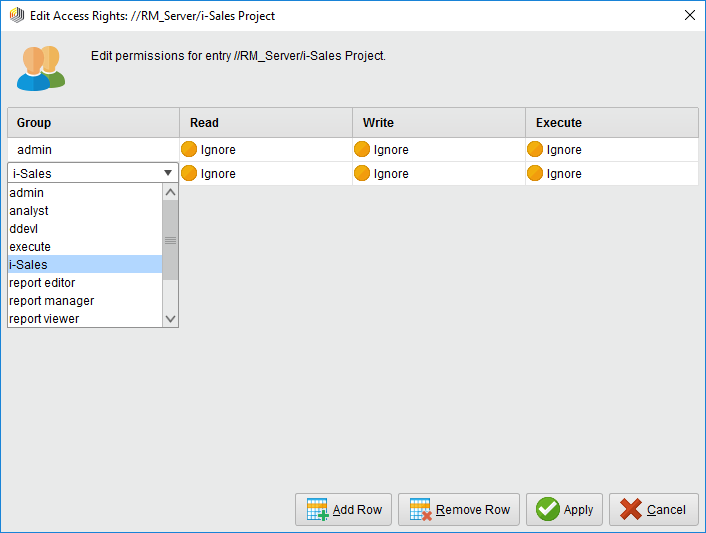
Set the Read, Write, and Execute privileges for the group.
Assigning access from RapidMiner Server
In RapidMiner Server, connection access rights are assigned from both the Administration > Database Connections and Administration > Connections page. Other resources, such as processes, data, and reports, are assigned from the Repository > Browse Repository page.
Assigning rights to a database connection
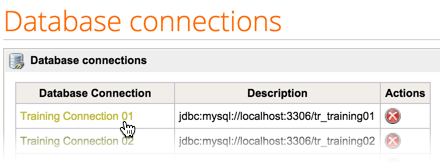
To assign rights to a database connection, from the Administration > Database Connections page:
Click on the database connection name in the left column to open the database connections configuration dialog.
Click the Access Rights tab to display configured groups and users eligible for access. Entries on the left do not currently have access, groups on the right do have access.
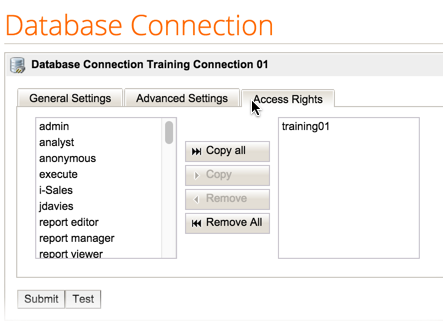
Click and Copy or double-click each user or group to be added to the database connection rights list.
Click Submit to save your changes.
Assigning rights to other connections
You can also assign rights to other connections (such as Twitter, Solr, Salesforce, etc.) from RapidMiner Server. First, make sure that you have downloaded and installed any necessary extensions and added the connection to RapidMiner Server.
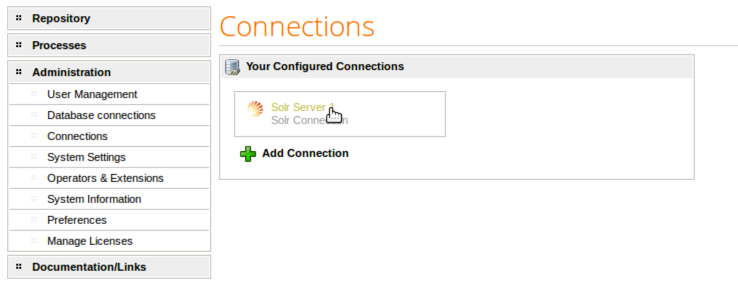
From the Administration menu, select Connections to open the Connections page.
Click on the name of the connection you wish to edit user access for:
Select the
 Permissions tab.
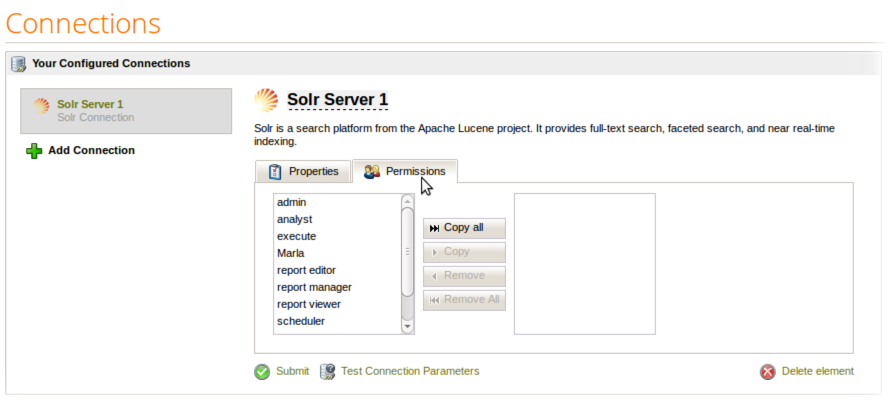
Click and Copy or double-click each user or group to move between the allowed and restricted options.
Assigning rights to other resources
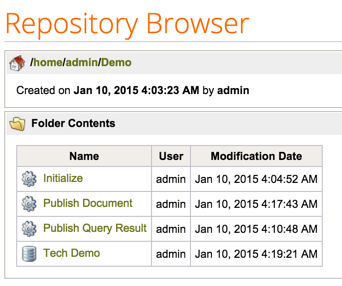
To assign rights to data sets, processes, folders, or web apps (stored as a file in the repository) from RapidMiner Server, from the Repository > Browse Repository page:
Drill down through the folder structure until you reach the level you want to set permissions for (folder level, process level, etc.):
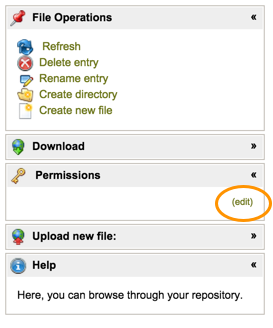
In the Permissions box on the right, click the edit link:
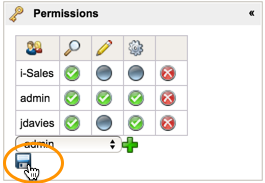
Use the pull down to select the users and/or groups to add to the resource permissions:

After you have added users and groups, select the level of permissions by clicking in the gray circle.
Optionally, you can select the Set recursively for subdirectories checkbox. This will then set the defined permissions not only for the current folder, but all subfolders as well. Note that the checkbox only appears after changes to the permissions have been made.
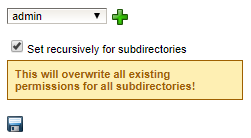
Click the
 Save icon to save your changes.