You are viewing the RapidMiner Server documentation for version 9.3 - Check here for latest version
Upgrade RapidMiner Server 9.1+
This section describes updating RapidMiner Server from 9.1 and above to the latest version. It also describes the process for rolling back the upgrade.
Performing a upgrade
The upgrade process installs the new version of RapidMiner Server into a new installation directory. The new instance uses your existing RapidMiner Server home directory and existing database.
If necessary, rolling back an upgrade can only be performed by restoring a backup of both the RapidMiner Server home directory and the RapidMiner Server database – rolling back requires a consistent home directory and database. You can then reinstall the previous version of the application to the installation directory. Read the Rollback section below for more details.
Stop the application
Stop all connected Job Agents. Verify that you stopped every Job Agent by navigating to the Queues page and check the connected agents per queue. There should always be the message
No Job Agents connected.Stop RapidMiner Server. If running Windows, verify that all RapidMiner-related services have stopped.
Back up your data
We strongly recommended that you perform a backup of RapidMiner Server data before making changes to the software version:
Back up your external database and confirm the backup was created properly. You can use the database native tools to create the backup.
Back up your RapidMiner Server home directory.
Upgrade RapidMiner Server
With version 9.2 automatic synchronization of resources between RapidMiner Server and the connected Job Agents was introduced. Please read the resource management guide and check your setup and before upgrading to 9.2.
If you have installed RapidMiner Server as Windows Service please make sure to start the installer with administrator privileges, otherwise the RapidMiner Windows Service cannot be upgraded.
Download the latest version of the full server package.
Unzip the installer
Change to the
bin/directory within the installer directory and run the start script.Choose the
Upgrade an existing RapidMiner Servermode.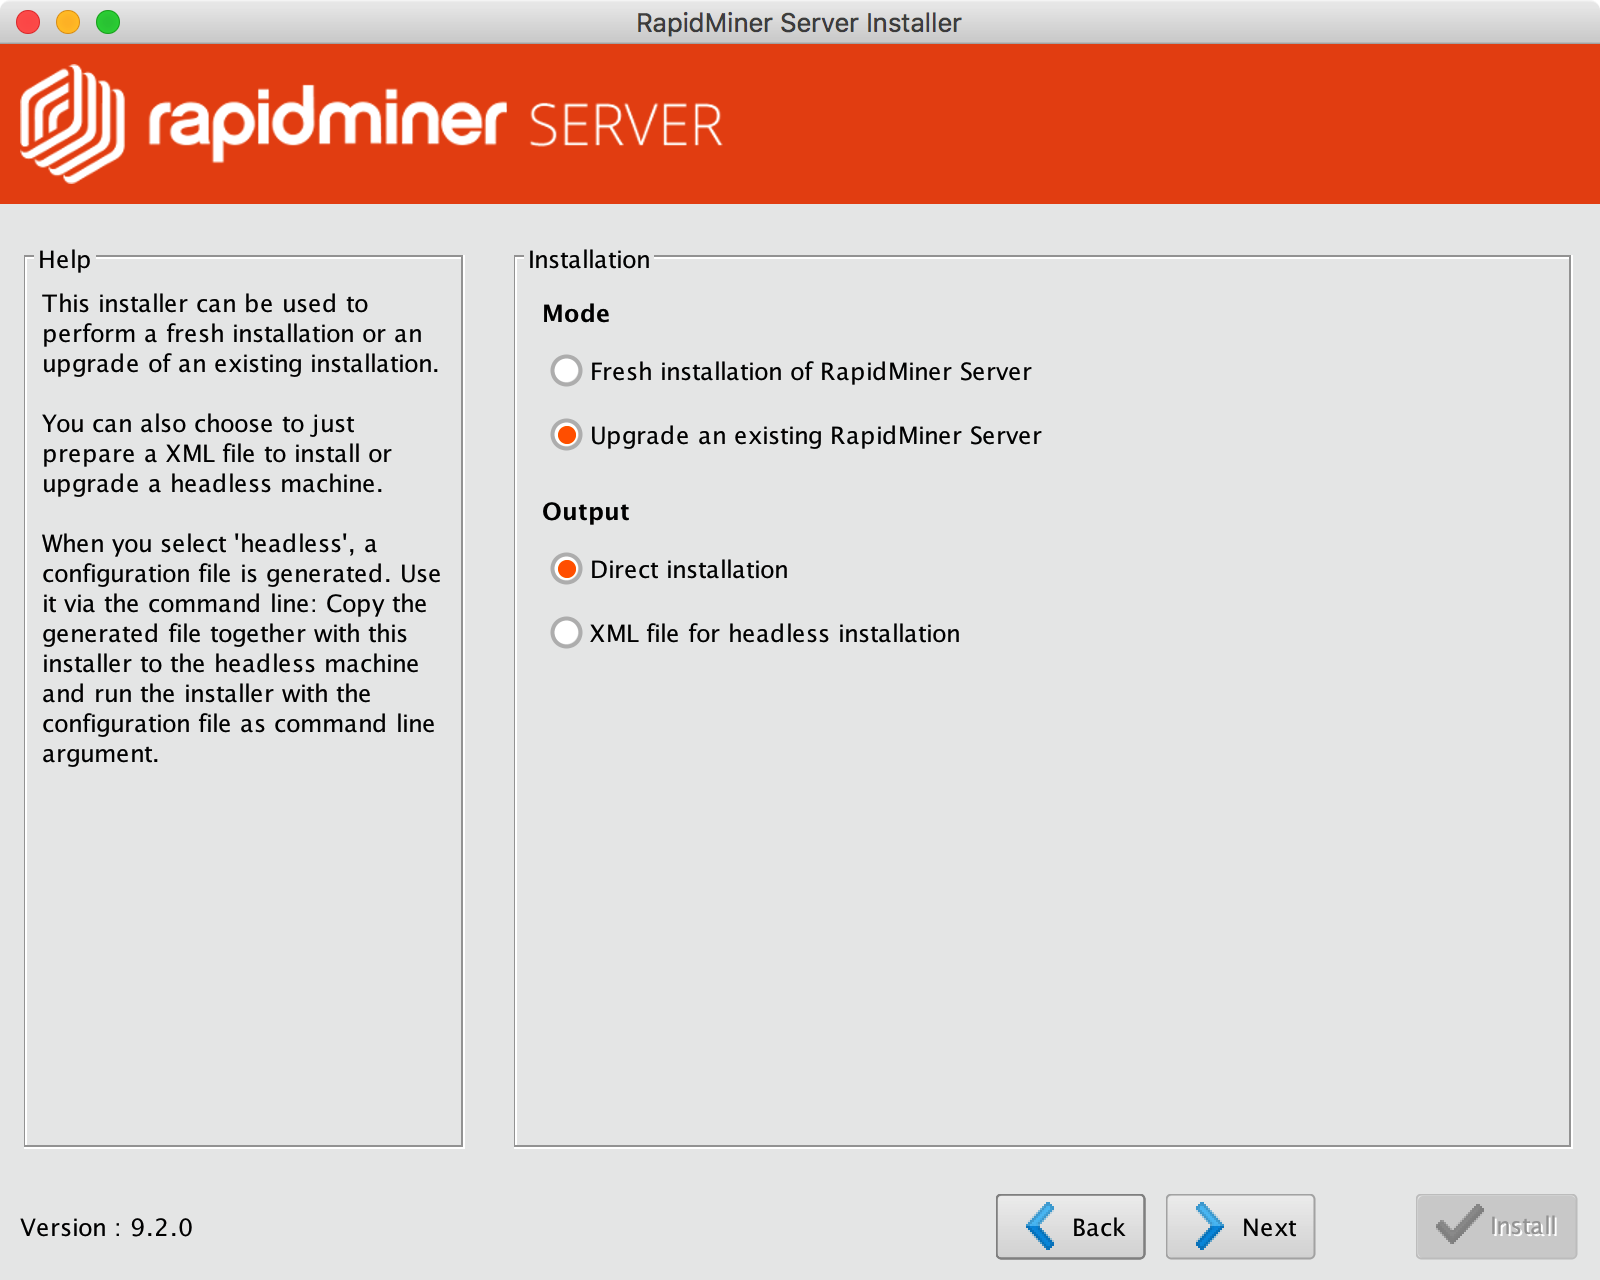
Define the location of the new installation and the already existing home directory.
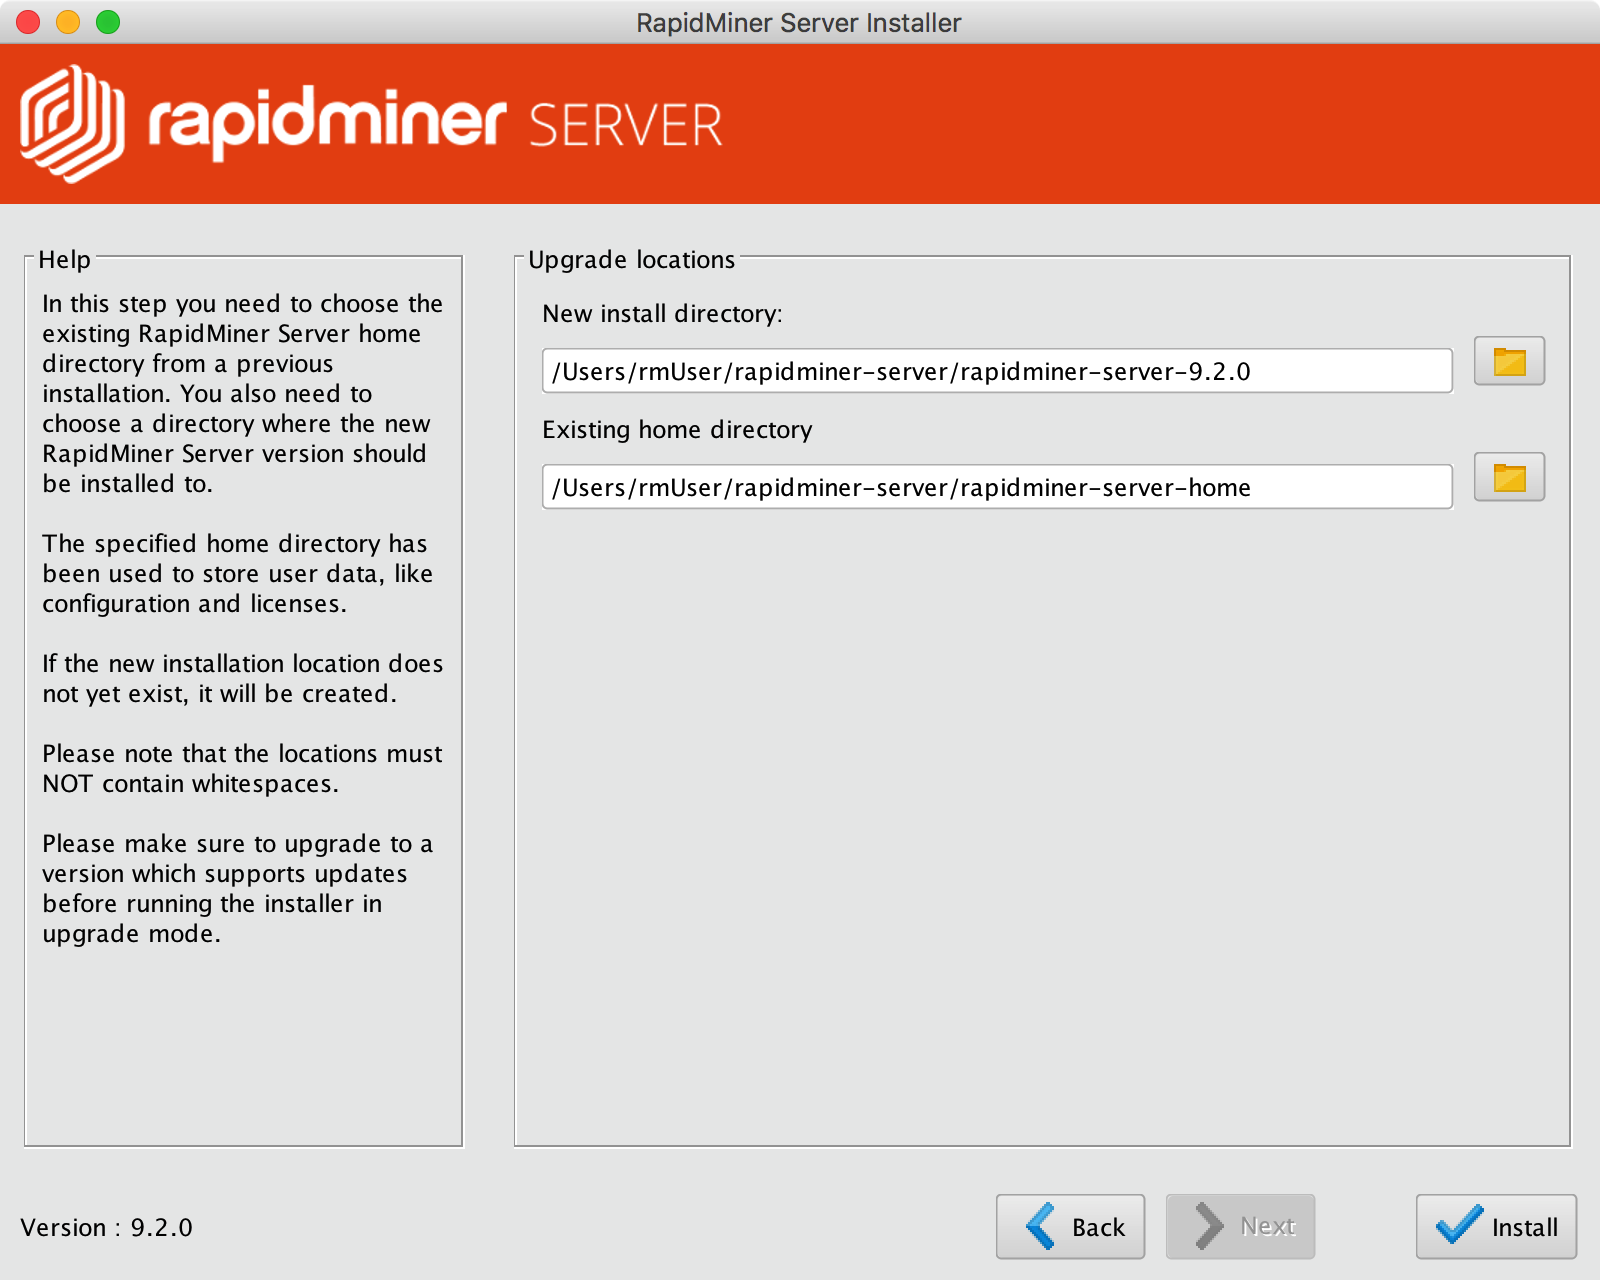
Run the upgrade by clicking on the
Installbutton.
Start RapidMiner Server
From the new installation folder, start RapidMiner Server.
Log on to RapidMiner Server as admin and perform necessary migration steps.
Upgrade external Job Agents
For every external Job Agent:
Download a new Job Agent archive for the corresponding Queue.
Unzip the new Job Agent archive and place the extracted folder near the Job Agent you would like to update.
For example:
unzip job-agent-QueueName.zip -d rapidminer-jobagent-9.x/Note: The Job Agent folder in the archive is always called
rapidminer-jobagentso do not unzip it in the same folder as the old one as it will overwrite the old contents.Copy the old Job Agent home directory to the new one:
cp -r {old-job-agent-directory}/home/ {new-job-agent-directory}/home/Start the new Job Agent and make sure it is visible on the Queues page. The name of the new Job Agent can be found in the
home/config/agent.propertiesfile.
Rollback
To roll back an upgrade:
Stop all connected Job Agents.
Stop RapidMiner Server. If running Windows, verify that all RapidMiner-related services have stopped.
Restore your RapidMiner Server database from backup. If unsure how to do so, try searching Google for the appropriate commands for your database type.
Restore your RapidMiner Server home folder from backup.
Start the old RapidMiner Server and the corresponding Job Agents.