Schedule a process from Altair AI Hub
The tools to schedule a process are available both in Altair AI Studio and on Altair AI Hub. If you want to use the Cron Editor, you must use Altair AI Studio. If you want to schedule a process directly from Altair AI Hub, you must use the cron expression language to enter the scheduling trigger.
Altair AI Hub uses the Quartz job scheduler to create scheduling triggers. For syntax and examples using the cron expression language, see this tutorial. If you'd like a visual tool for creating syntax, see this utility.
Creating a schedule via the Project Content Browser
The schedule option is available when you select a process for display in the Project's Content Browser of Altair AI Hub. You can click on the drop down menu:
In the drop down menu on the right, click Create schedule:

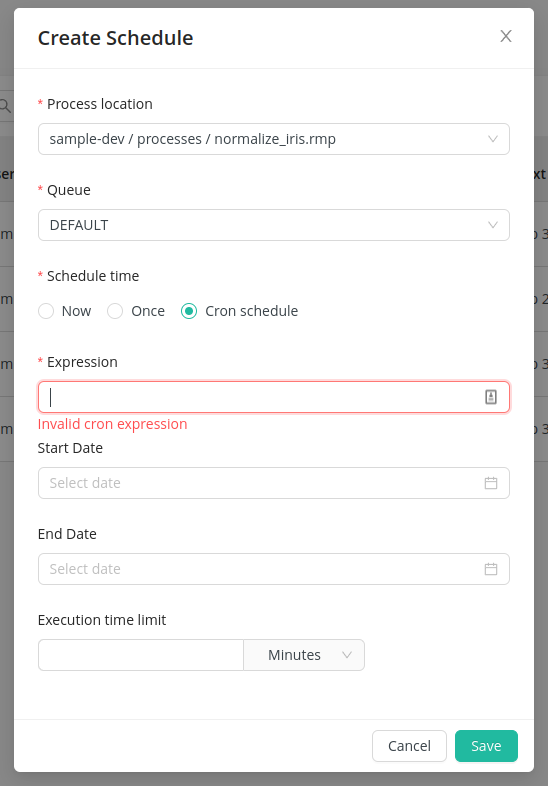
The Create cron trigger dialog opens. Enter a cron expression and click Save.
Altair AI Hub applies the trigger and displays it in the Schedules view.
Creating a schedule via the Schedules Page
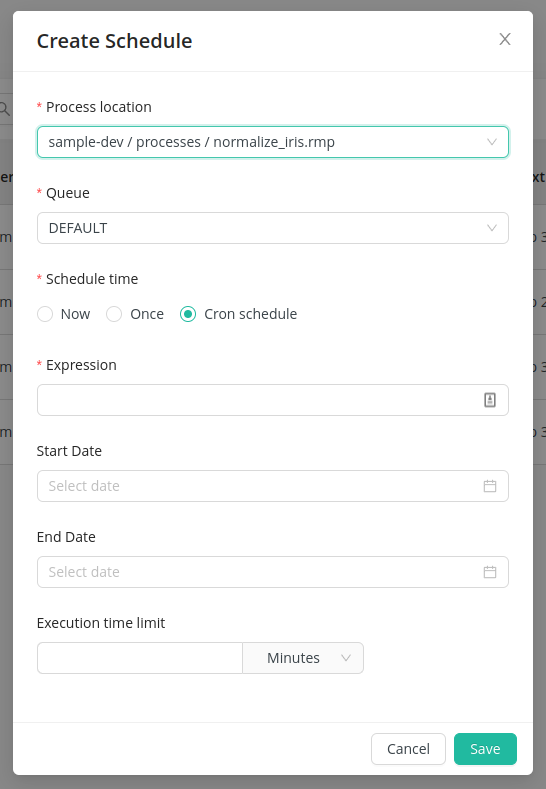
The Schedules page also provides a dedicated option to create and manage schedules. Open the schedule creation dialog by clicking on Create Schedule:
Working with schedules
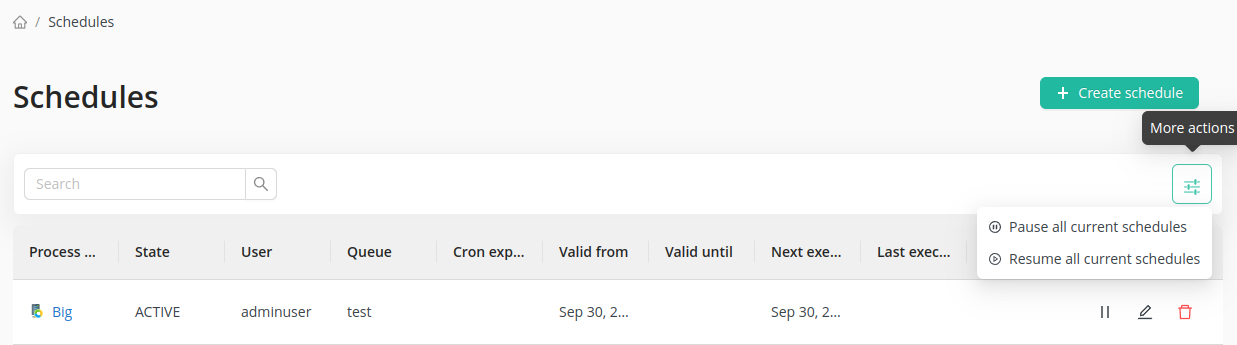
Altair AI Hub displays all Currently Defined Schedules in the Schedules view:

From this screen, you can take the following actions:
 : Edit the schedule; opens the edit schedule dialog.
 : Pause the schedule; schedules are not executed when in a paused state.
 : Resume the schedule; already missed execution times in the past will be ignored.
 : Deletes the schedule from the configuration.
In addition, you can also resume/pause Schedules in bulk by clicking on the top right actions icon.
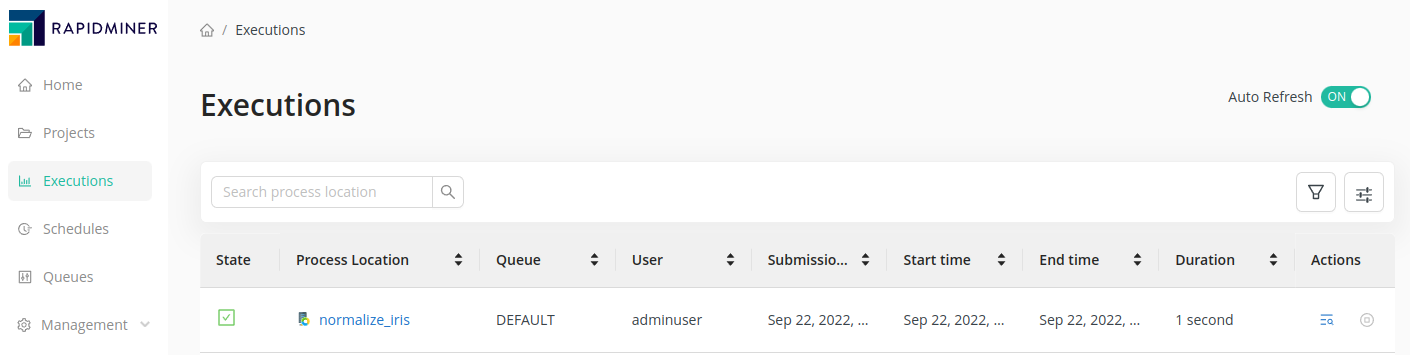
If the scheduler triggers a process execution, the process will be shown in the Executions view: